07740 877 544
Knowing how to clean a lettering brush is essential for the care of your brushes. This guide will show you basic steps for cleaning lettering brushes, as well as compact storage.
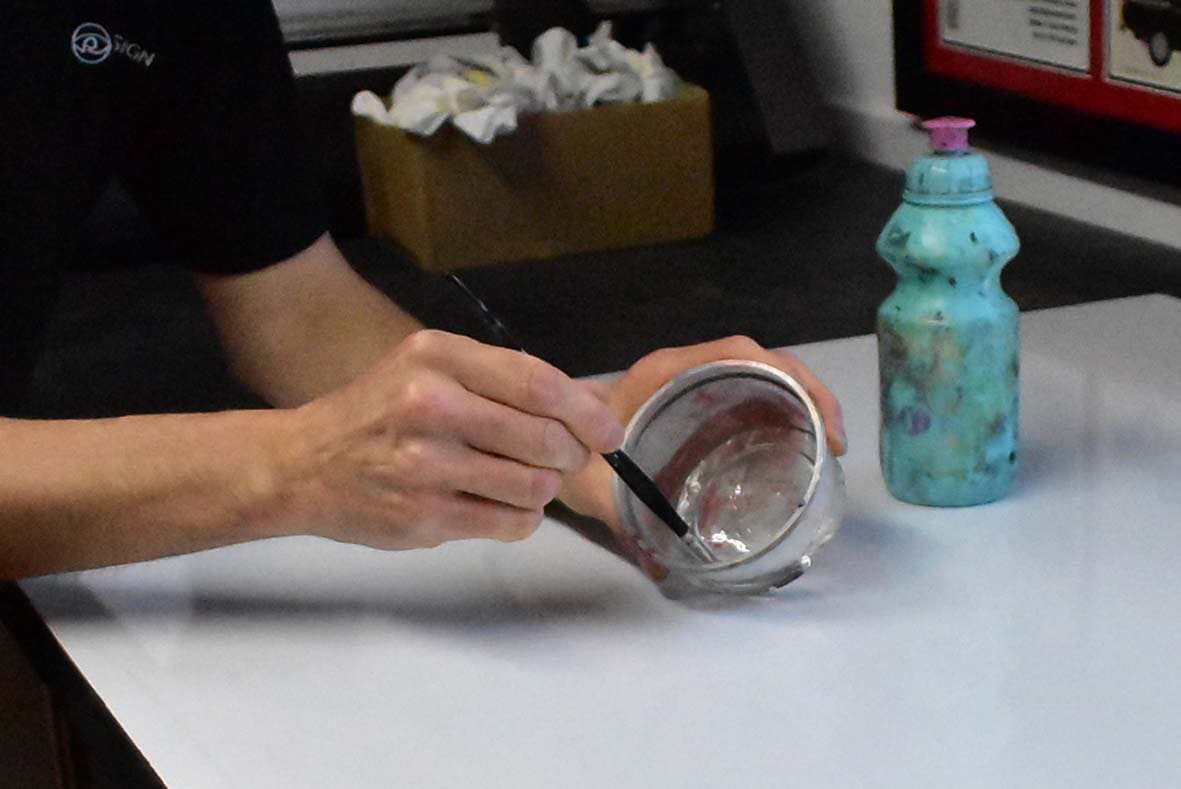
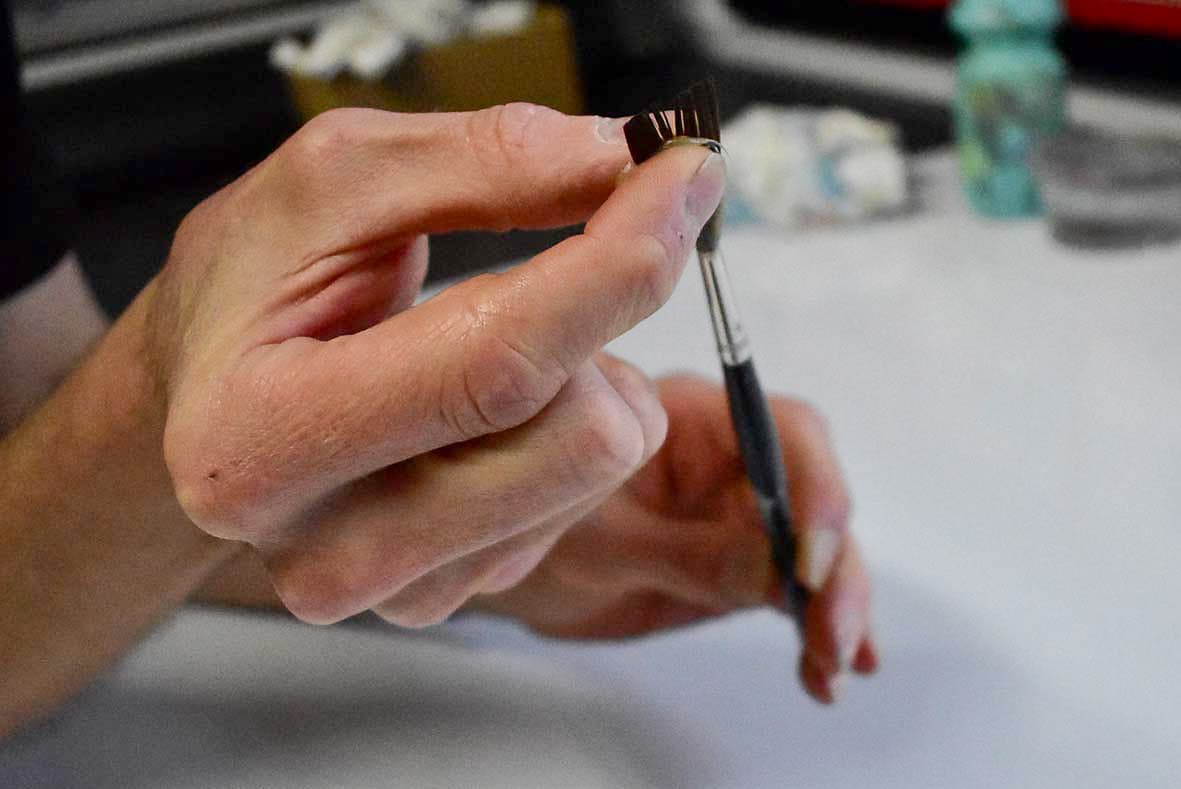
Remove excess paint
Once you’ve painted and are ready to clean your brush, first remove excess paint from the hairs. Slide the hairs over the edge of your paint container, releasing paint held within.
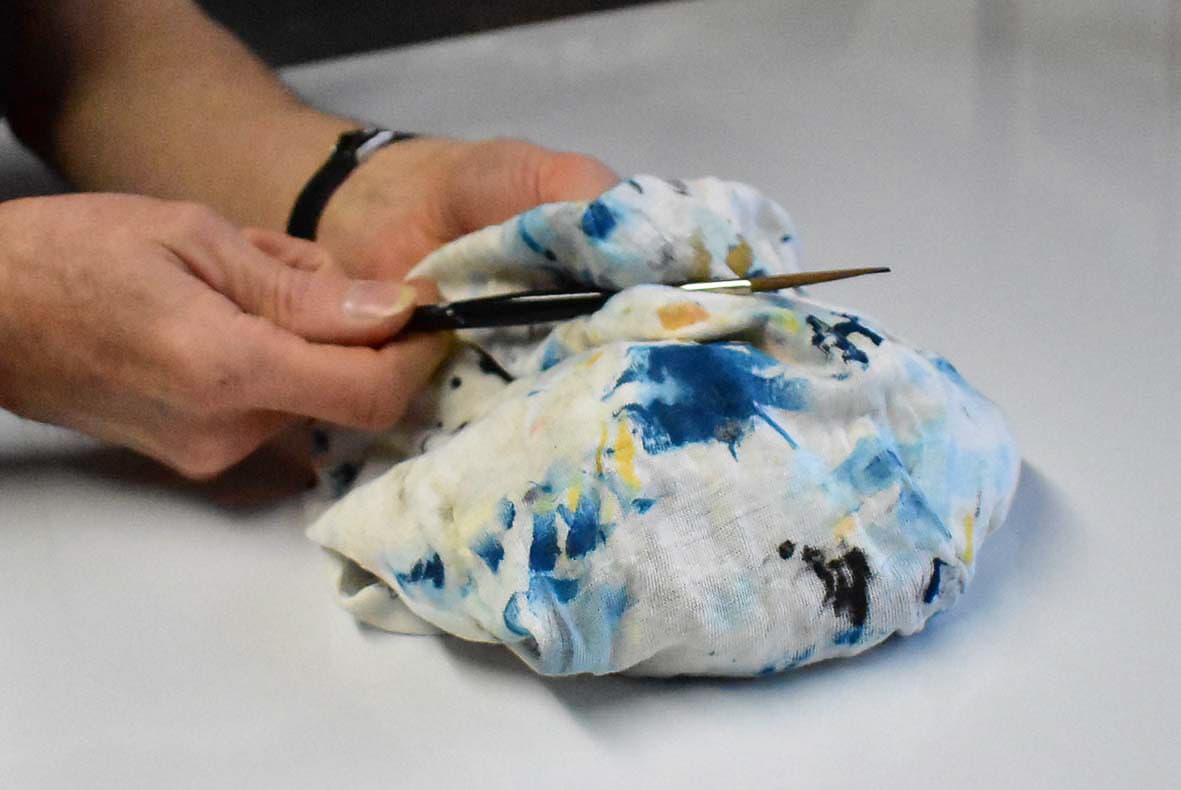
Using a dry cloth, gently glide the hairs between your fingers. That’ll wipe away most of the paint.
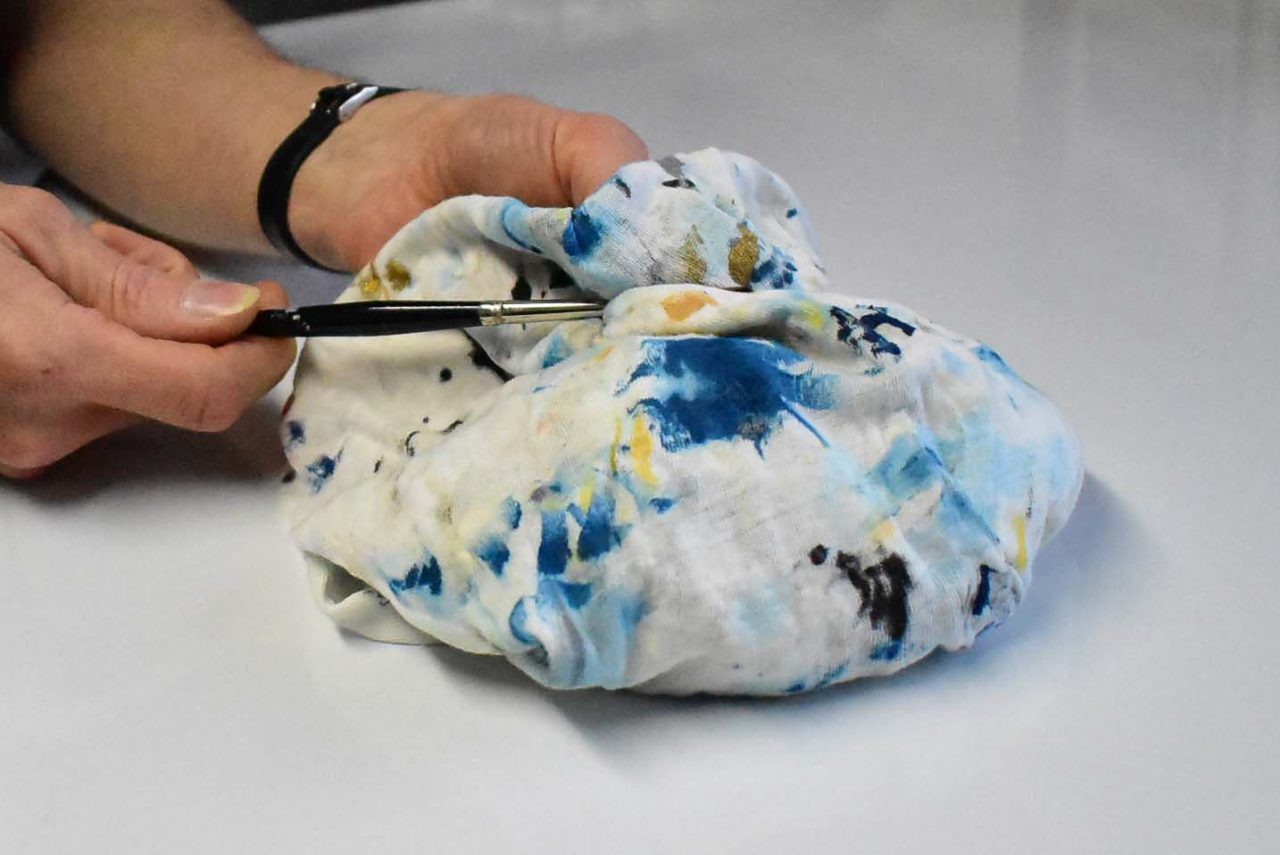
Always move the cloth forward, in the direction from the base of the hairs to the tip.
Carefully clean the ferrule with the cloth. Remove any drips or splatters of paint. Wipe clean the handle too.
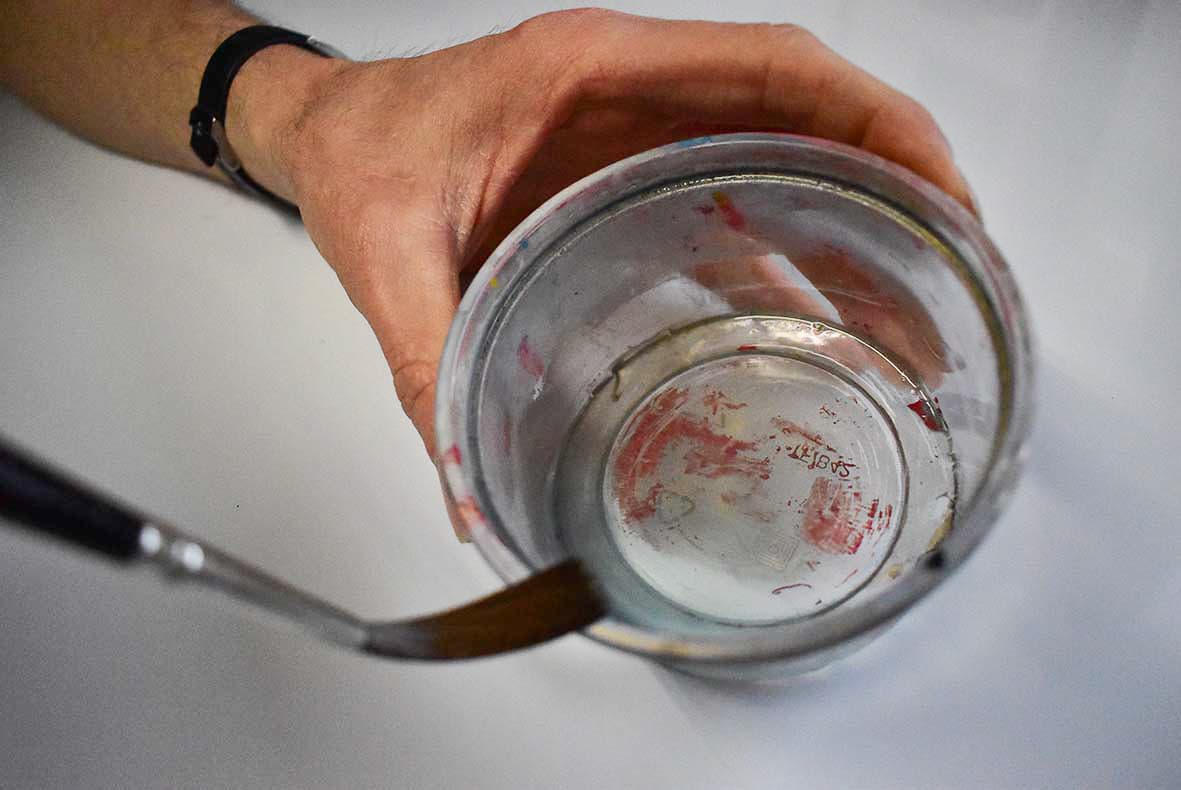
Recycle a plastic pot
Store your cleaning fluid in a bottle with a drip cap. It makes it easier to judge the volume of liquid, as well as minimising spillages.
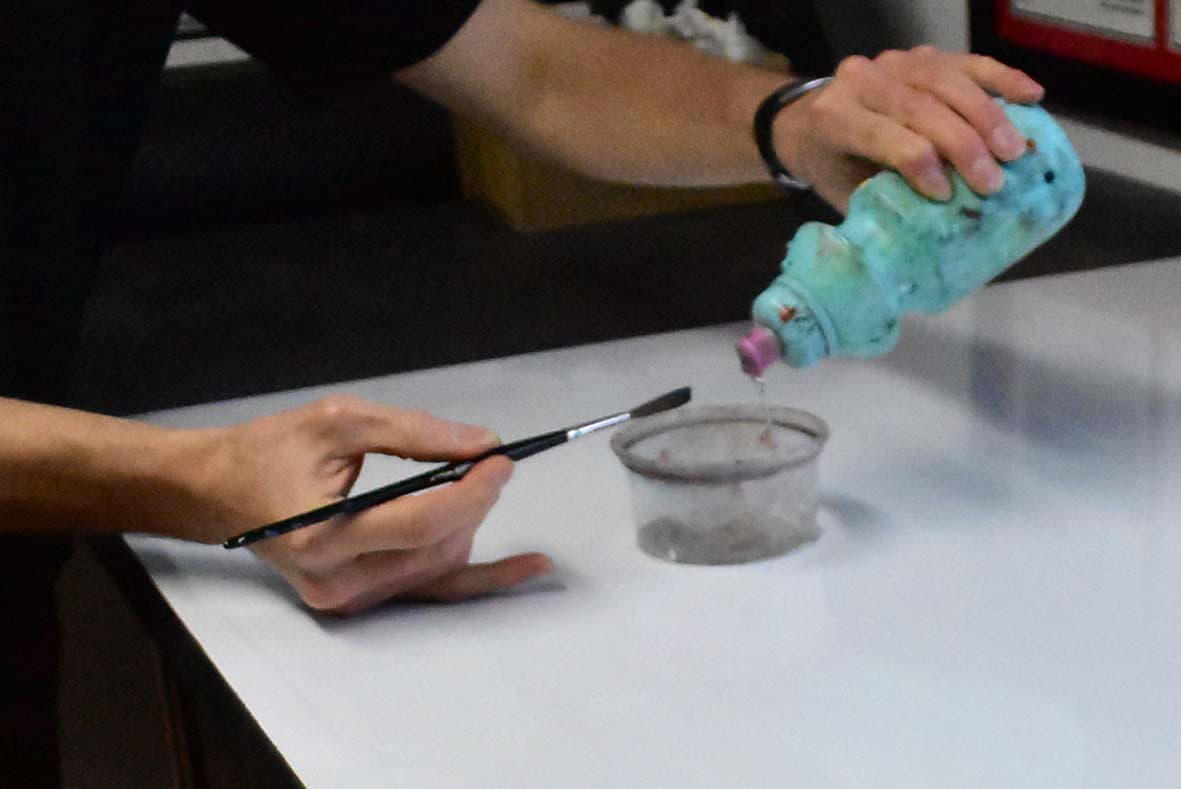
Fill a clean (used food tins or yogurt pots with lids are ideal) container approximately 2cm in height with white spirits (for oil based paints) or water (for water based paints).
Gently push the brush up and down in the cleaning liquid. You’ll see the paint remove from the hairs.
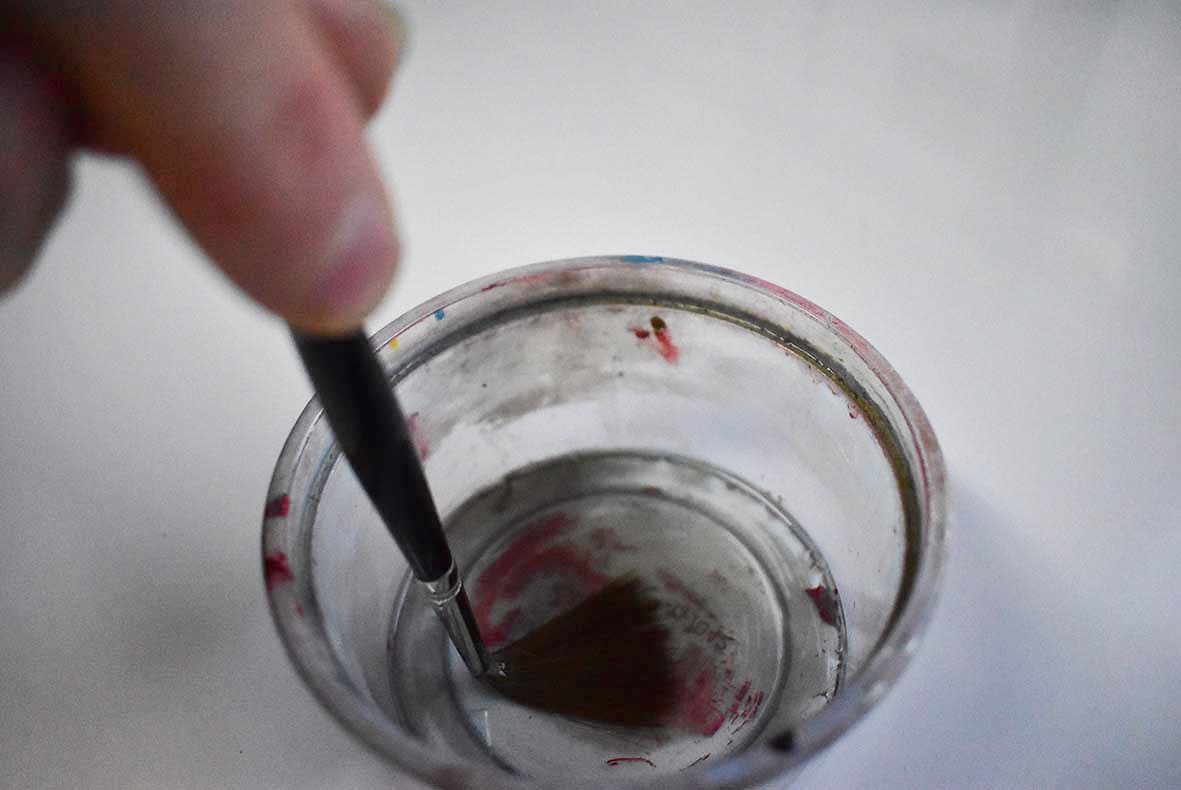
Remove the brush and wipe with the cloth again. Pay attention to the heel of the hairs (the base) where most of the paint will be deposited.
For washing oil based brushes only
Repeat the washing process and dry the brush a second time.
Using a second container filled with clean white spirits, wash the brush again. By this stage, the white spirits should be clear and not show any paint.
If the white spirits are murky, repeat the process using a third container with fresh white spirits.
Store your filled cleaning containers for the next brush wash. Replace the white spirits when they appear dirty, or when paint is sitting on the bottom of the container.
Dry the hairs a final time with a clean cloth.
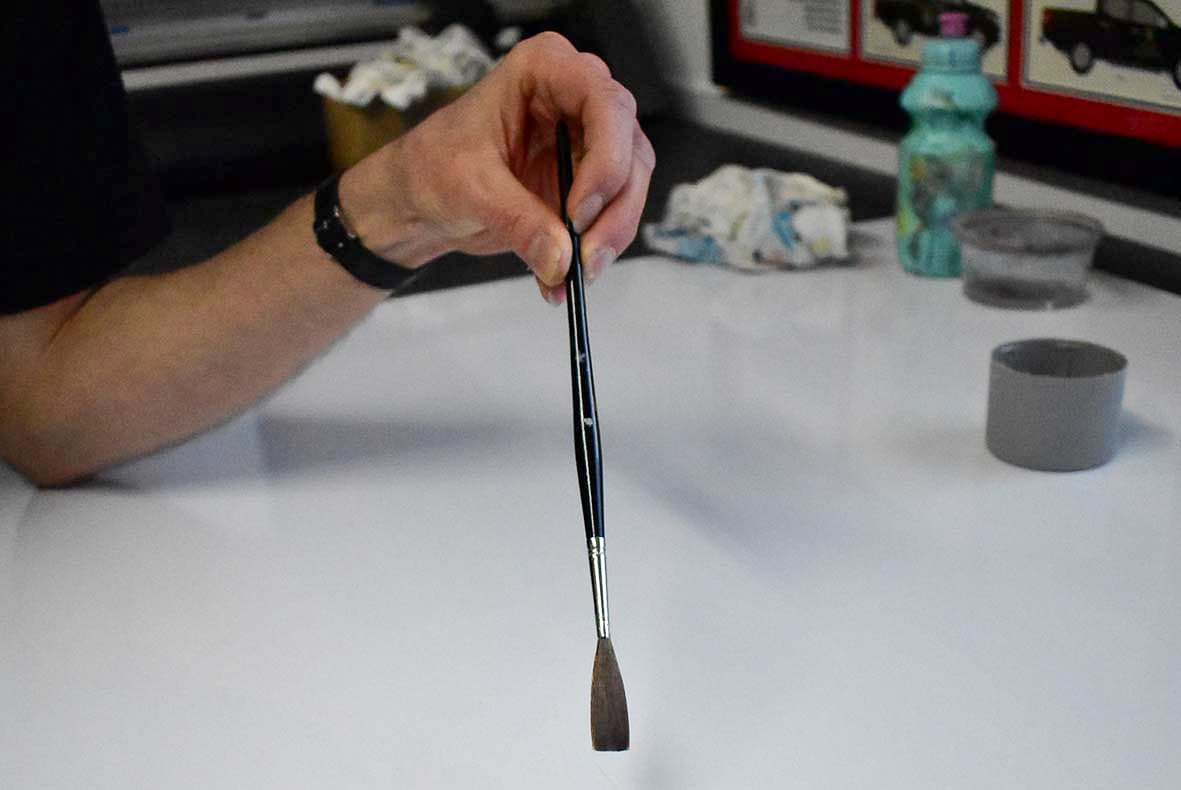
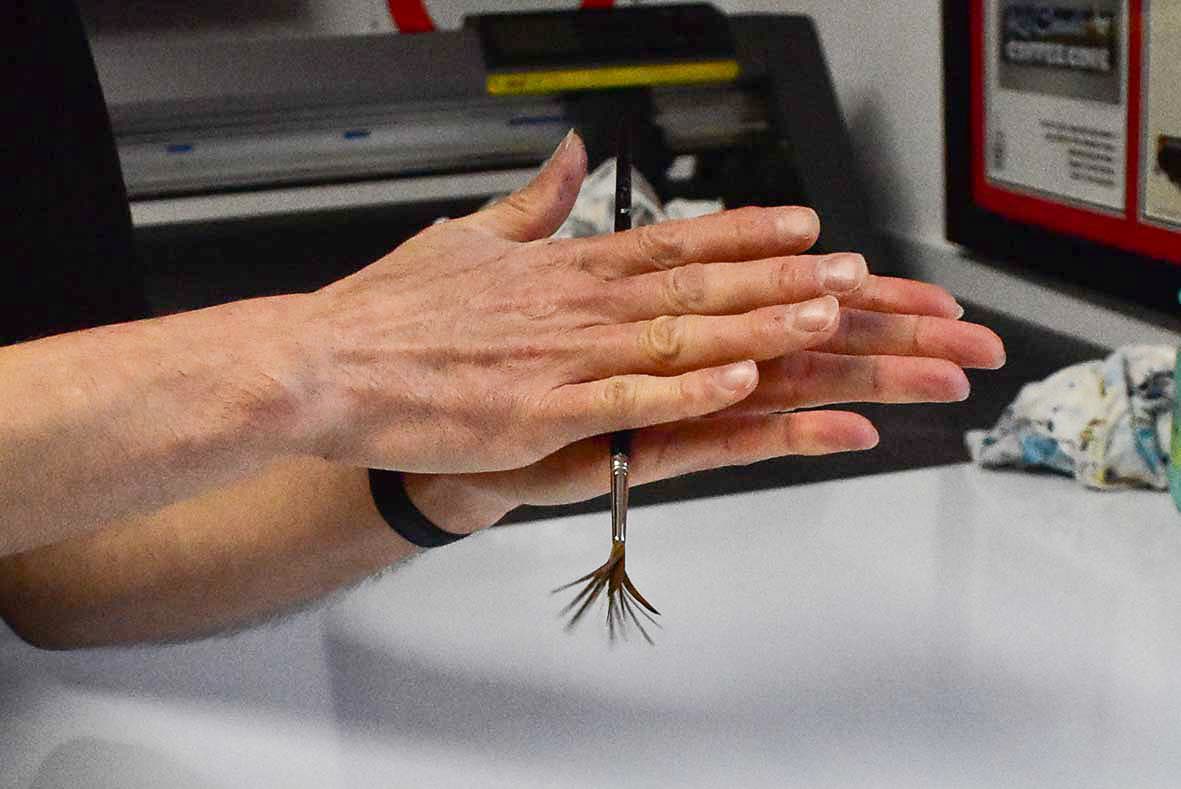
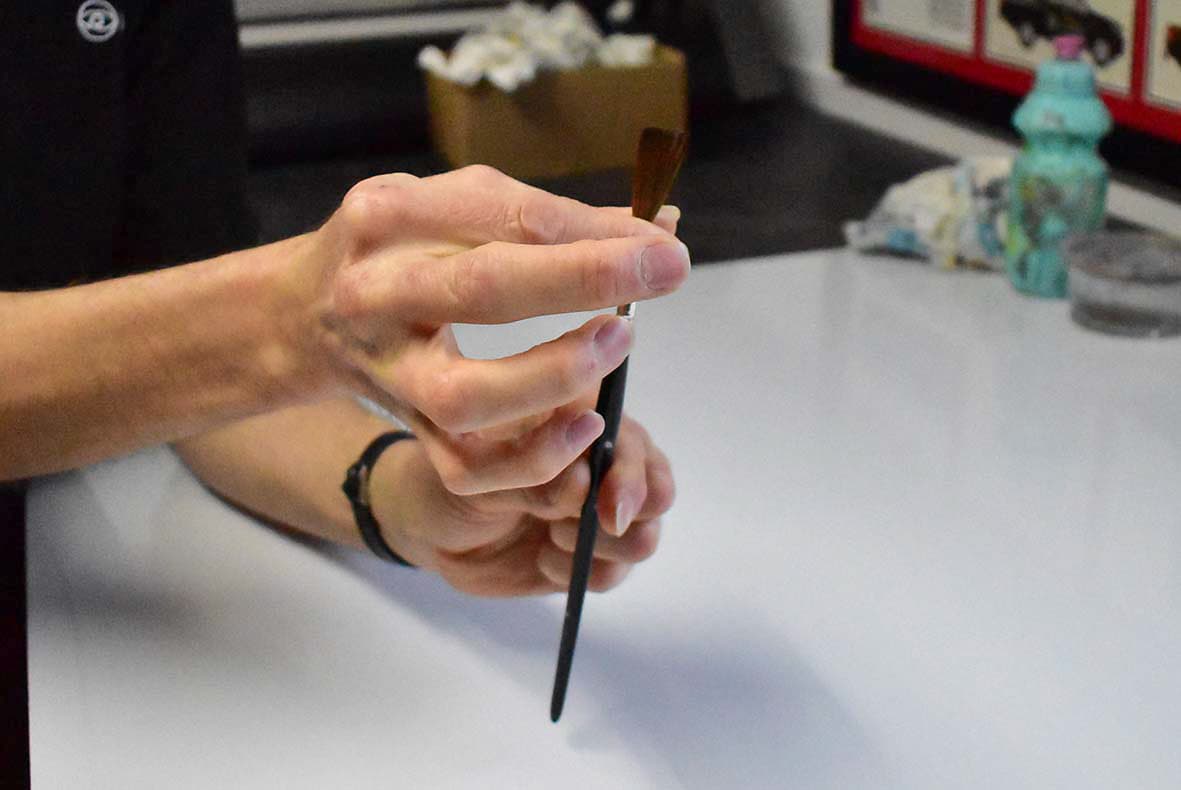
Spin dry the lettering brush
Place the brush between the palms of your hands, with the hairs facing down. Spin the brush between your hands.
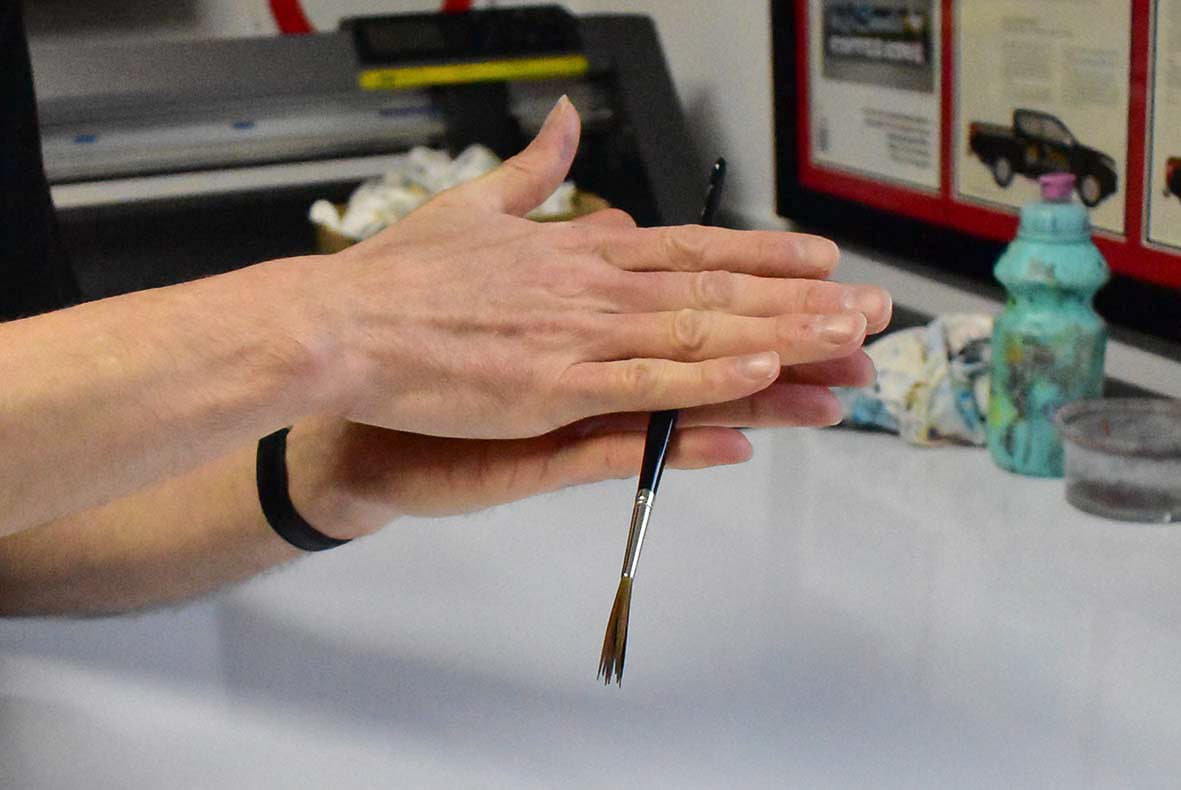
This’ll rinse dry liquid inside the hairs.
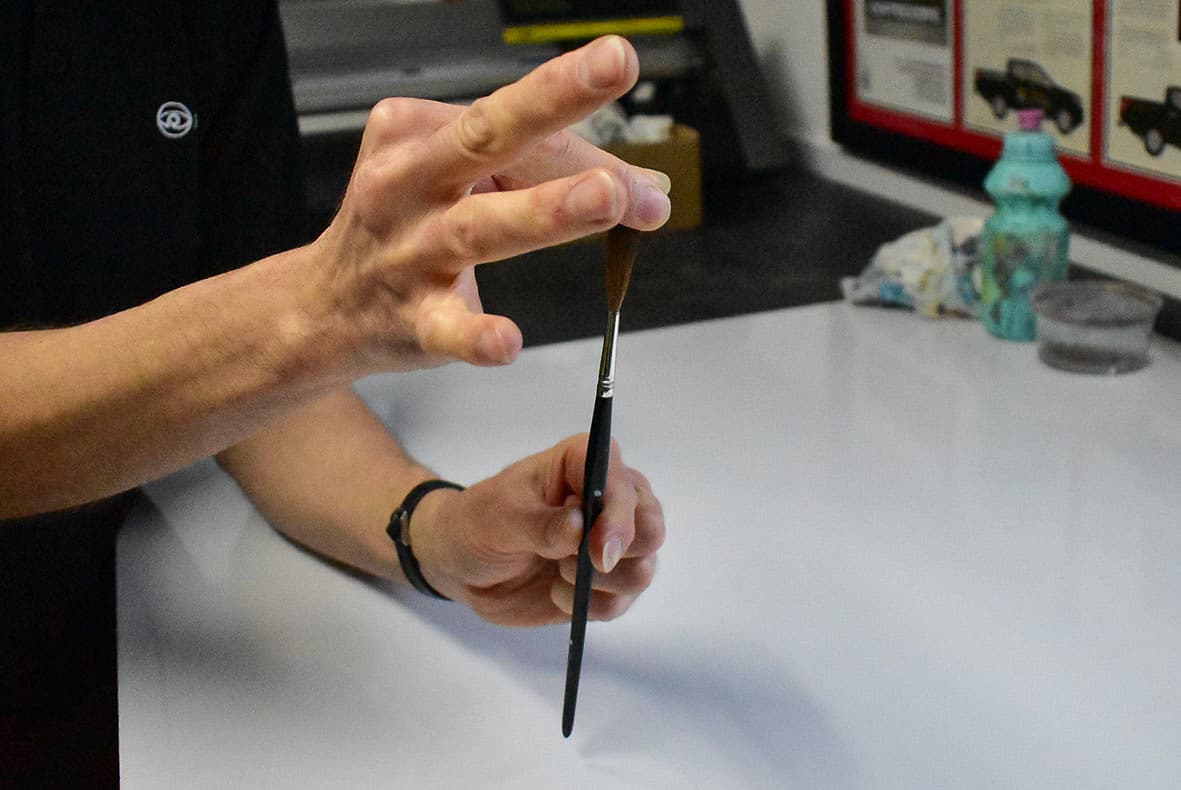
With the tips of your thumb and forefinger, gently comb the hairs straight into their natural position.
Storing your lettering brush
Now it’s time to prepare your brush for storage.
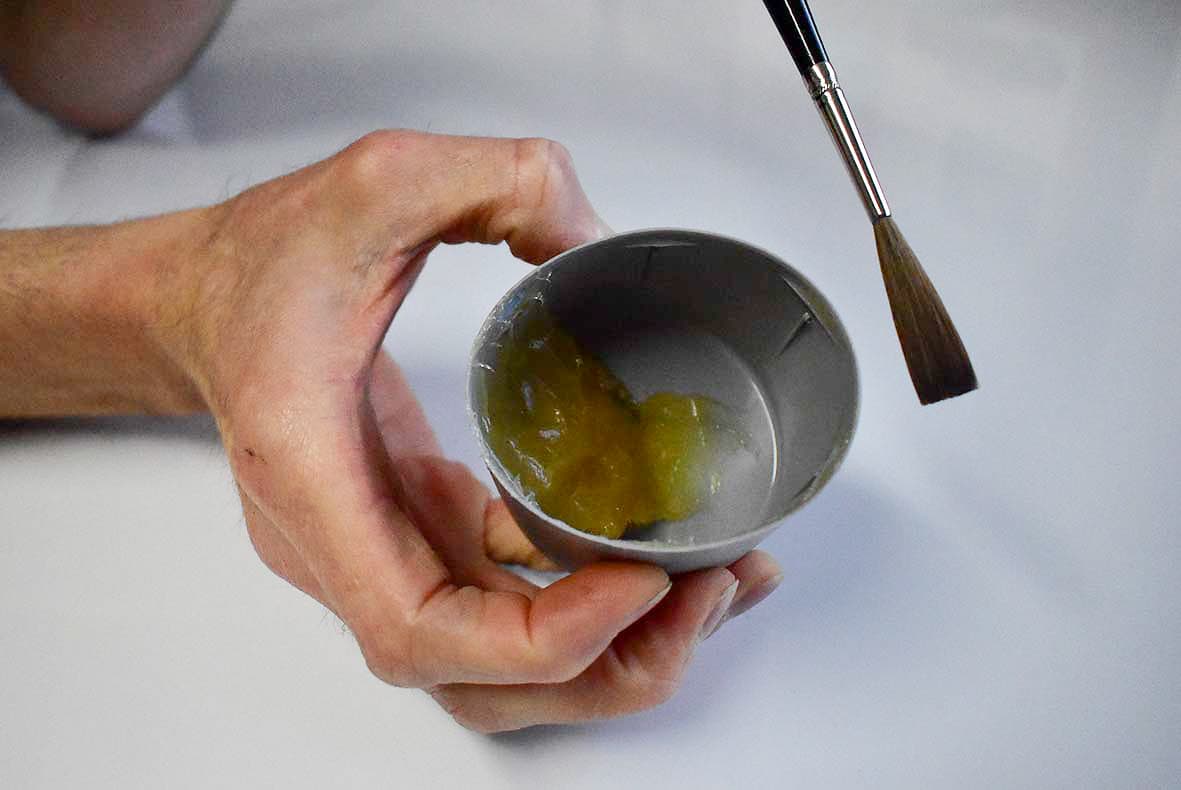
Using Neatsfoot brush oil or motor engine grease, scoop a small amount onto your finger.
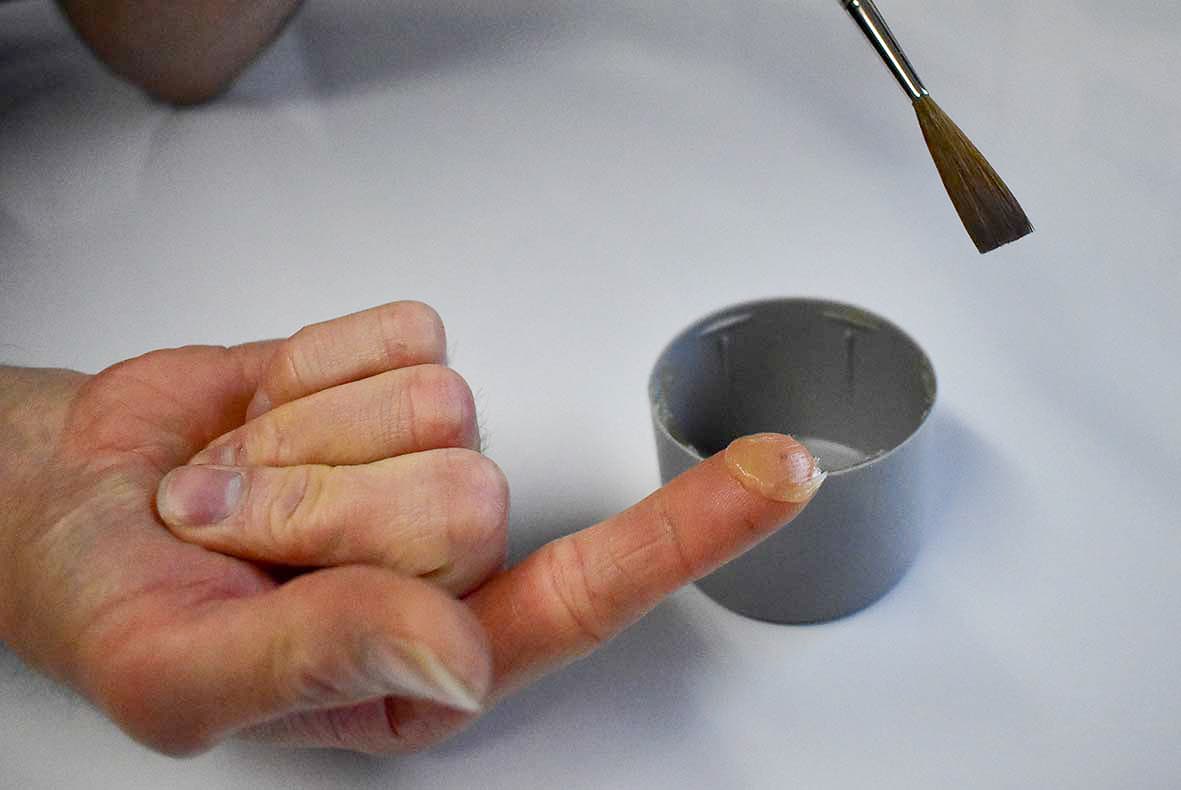
Smoothening the hairs using oil or grease, always shape the hairs from the base to the tip. For chisel edged brushes, form the tip flat into the chisel shape.
Make sure the hairs are parallel and straight. Now you can store your brush.
For washing water based brushes only
Turn on your tap for a gentle flow of lukewarm water. Hold the hairs underneath the tap and wet them until you see the water run clear.
Put a small drop of hand soap in the palm of one hand. Gently rub the hairs into the soap, paying extra attention to the heel of the hairs. This is where most of the paint is deposited.
Do not push against the hairs or rub vigorously. Allow the soap to work into any remaining paint and rinse the soap off.
Repeat this process until you see no more paint on the hairs or the washing water is clear.
For chisel edged brushes, form the tip flat into the chisel shape. Make sure the hairs are parallel and straight. Smoothen the hair with a small amount of soap on your index finger and thumb. That’ll keep the hairs together. You can wash the soap off when it’s time to use the brush again.
Now you can store your brush.
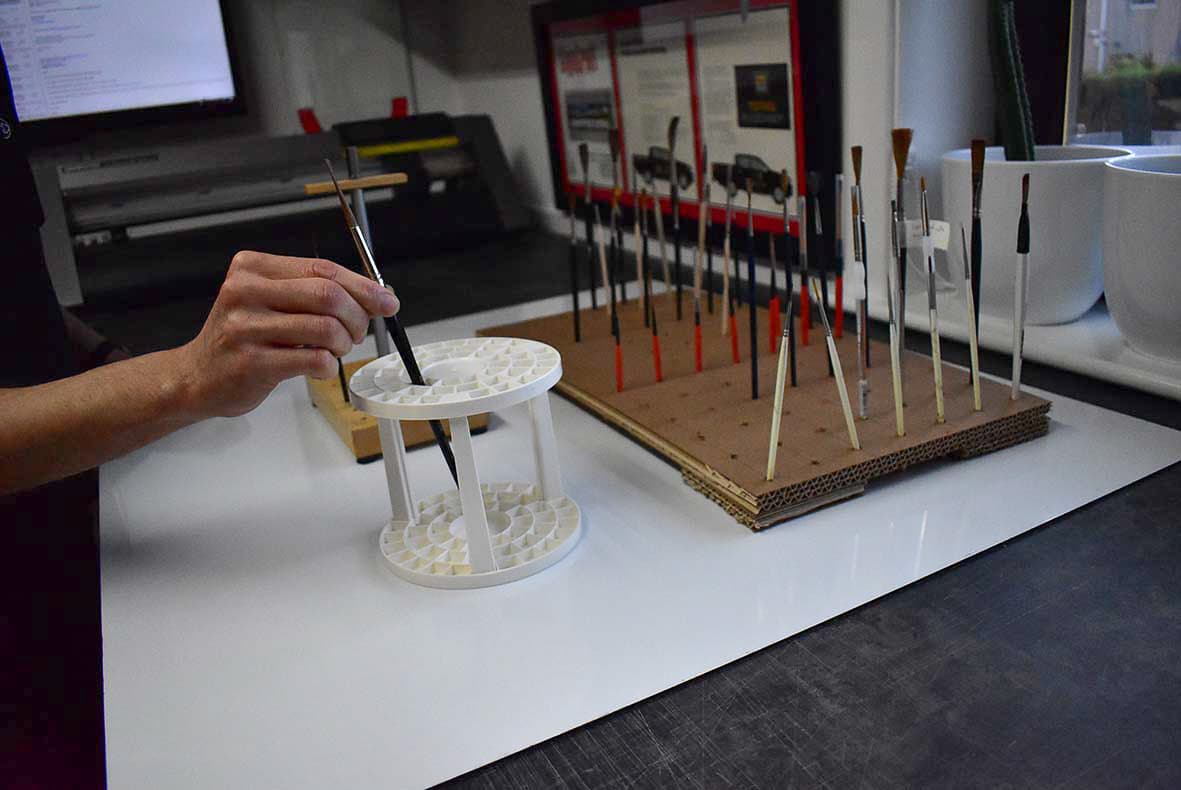
Storing your brushes
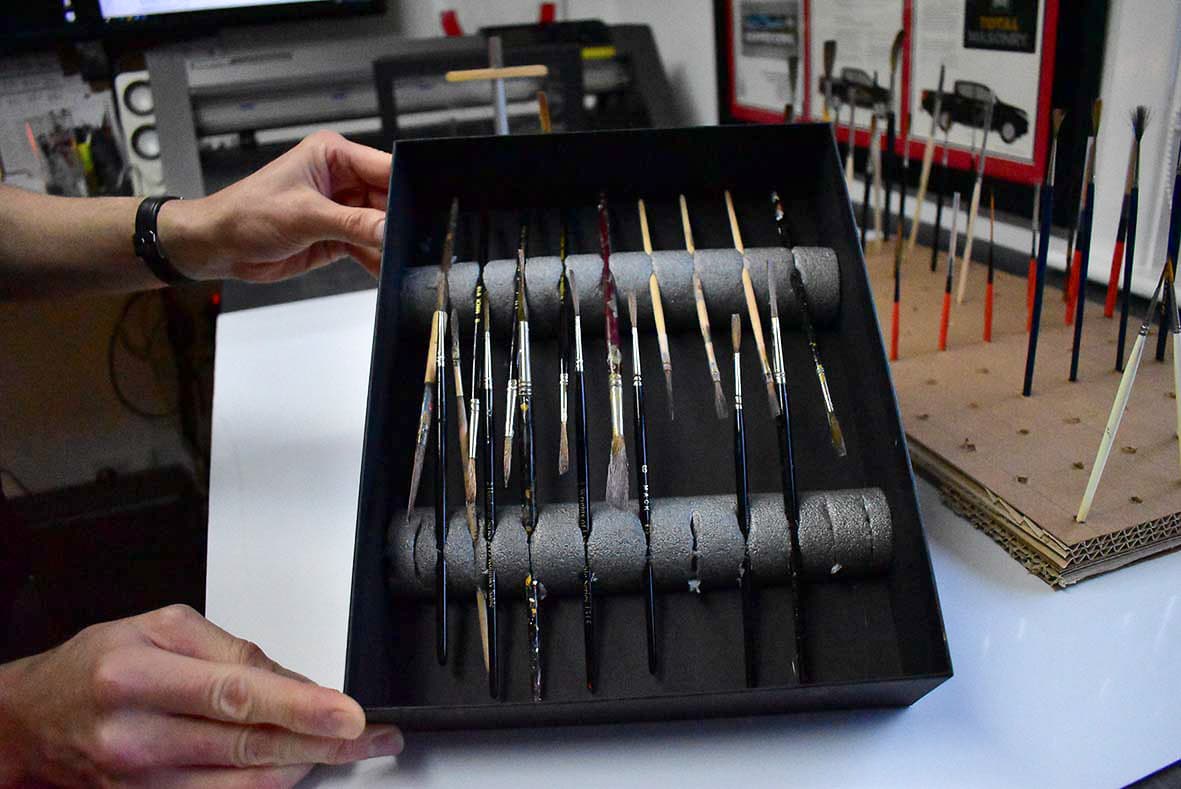
I prefer to store my studio brushes upright, as I find that they hold their shape better. They’re easier to identify too, rather than horizontally on top of each other or side by side.
A compact and inexpensive way to store your lettering brushes involves drilling holes in a bit of wood. Drill rows of holes wide enough to grip the handle firmly.
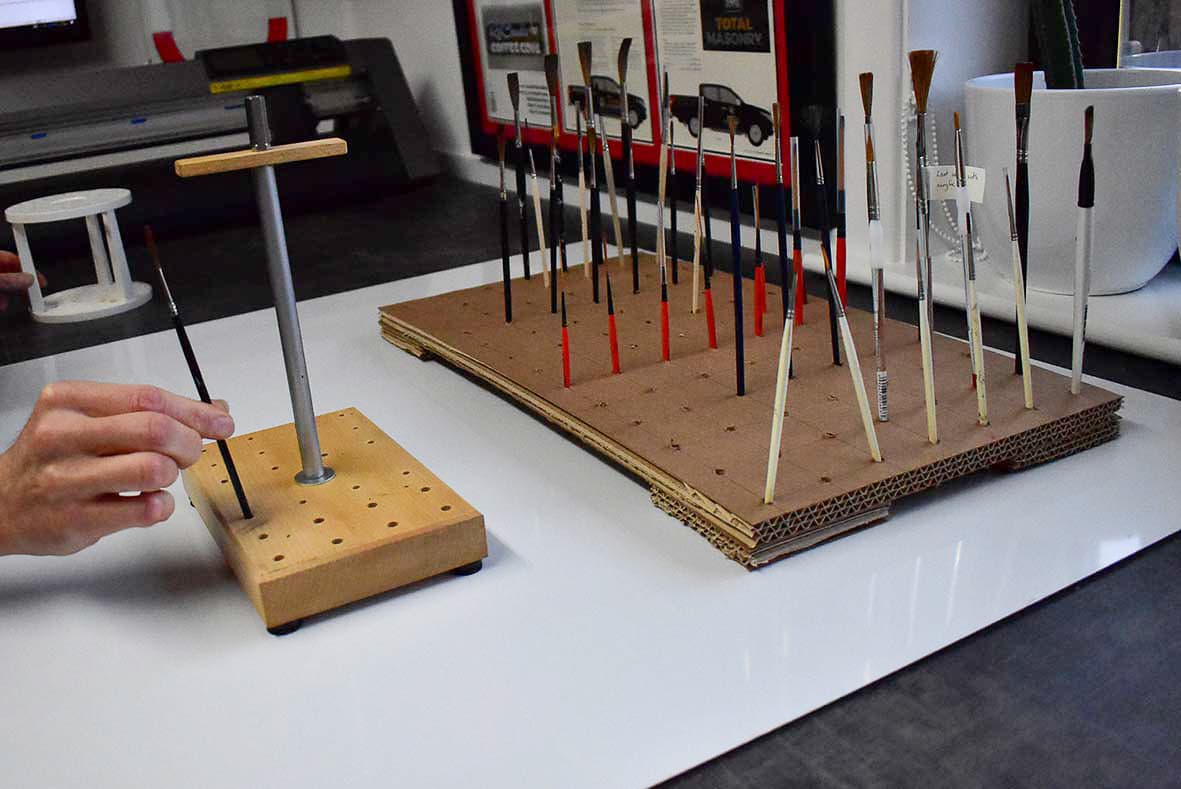
Alternatively, drill holes in thick cardboard layers for a larger selection of brushes. Polystyrene or dense foam can be useful too. Add feet to the drilled panel and you have an inexpensive brush holder.
Key Points
Newly purchased lettering brushes require washing before use.
Remove paint from your brushes before washing them. This will make the cleaning process easier, quicker and cheaper in the long run.
Wash your brushes in order, in separate baths.
With oil based brushes; always oil or grease your brush hairs from the base to the tip.
Never push the hairs downwards.
Store and dispose of cleaning agents responsibly.
Keep different sets of brushes for oil based and water based projects.
Store your lettering brushes out of the way when they’re standing upright.
Thanks for reading my guide on how to clean a lettering brush. Get in touch if you have any questions.