07740 877 544
This guide explains how to use adhesive tape for signwriting. It’ll help you work faster when painting signs and letters, as well as enable straighter edges for stripes and panels.
To tape or not to tape
Some signwriters refuse to use adhesive tapes at all when painting lettering. In some circumstances, I agree. However, adhesive tapes are tools that assist the commercial signwriter.
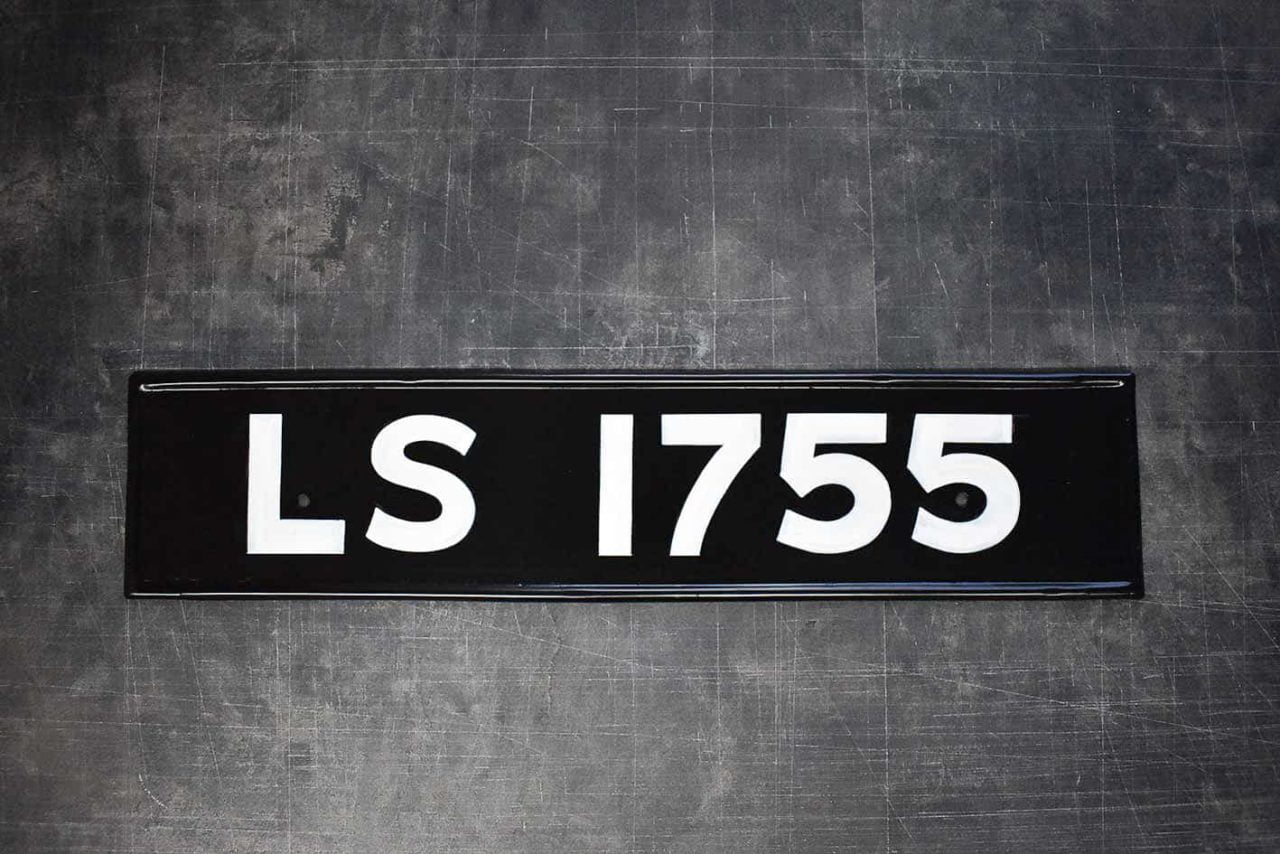
Painting of signs’ edges, borders, inlines and panels often require long, sharp, straight lines. Overall, tapes will yield neater results faster.
It’s important to make sure that the coatings on the surface you will apply the tape to, have had ample time to cure.
Before using masking tape
Store your masking tape at room temperature in a dry atmosphere. Keep the rolls sealed where possible.
Damp tape is hopeless to work with and will often leave residue on the surface when peeled off. When masking tape is cold, it’s difficult to remove cleanly from the roll and is liable to snap. When masking tape is too hot, it overstretches when pulled and is liable to warp.
Keep the tape warm when you’re working in low temperatures. Put the roll underneath your armpit, between your thighs, or in a warm pocket. Alternatively, warm the tape beside a heat source until it reaches room temperature. This’ll help maintain the tape’s performance.
Before applying masking tape, make sure the surface is clean and dry. Masking tape will slide on wet surfaces.
When the surface is too cold, the tape’s adhesive will not stick properly. Where possible, use heaters or an electric heat gun to increase the temperature of the surface.
Overly hot surfaces aren’t ideal for applying adhesive tapes and paint. Where necessary, shade the surface or wait until the surface cools.
Which masking tape for signwriting?
I’m using and recommend 3M low adhesion masking tape. 3M is a leading brand in adhesive materials and its products are exemplary.
Thinner, inexpensive tapes which feel like paper can cause problems for professional use. Warm the masking tape if it’s too tight when peeling off of the roll. Dispose of the masking tape if it’s still too tight after warming it.
Purchase your masking tape from local autobody supply shops or decorators’ merchants.
How to use masking tape
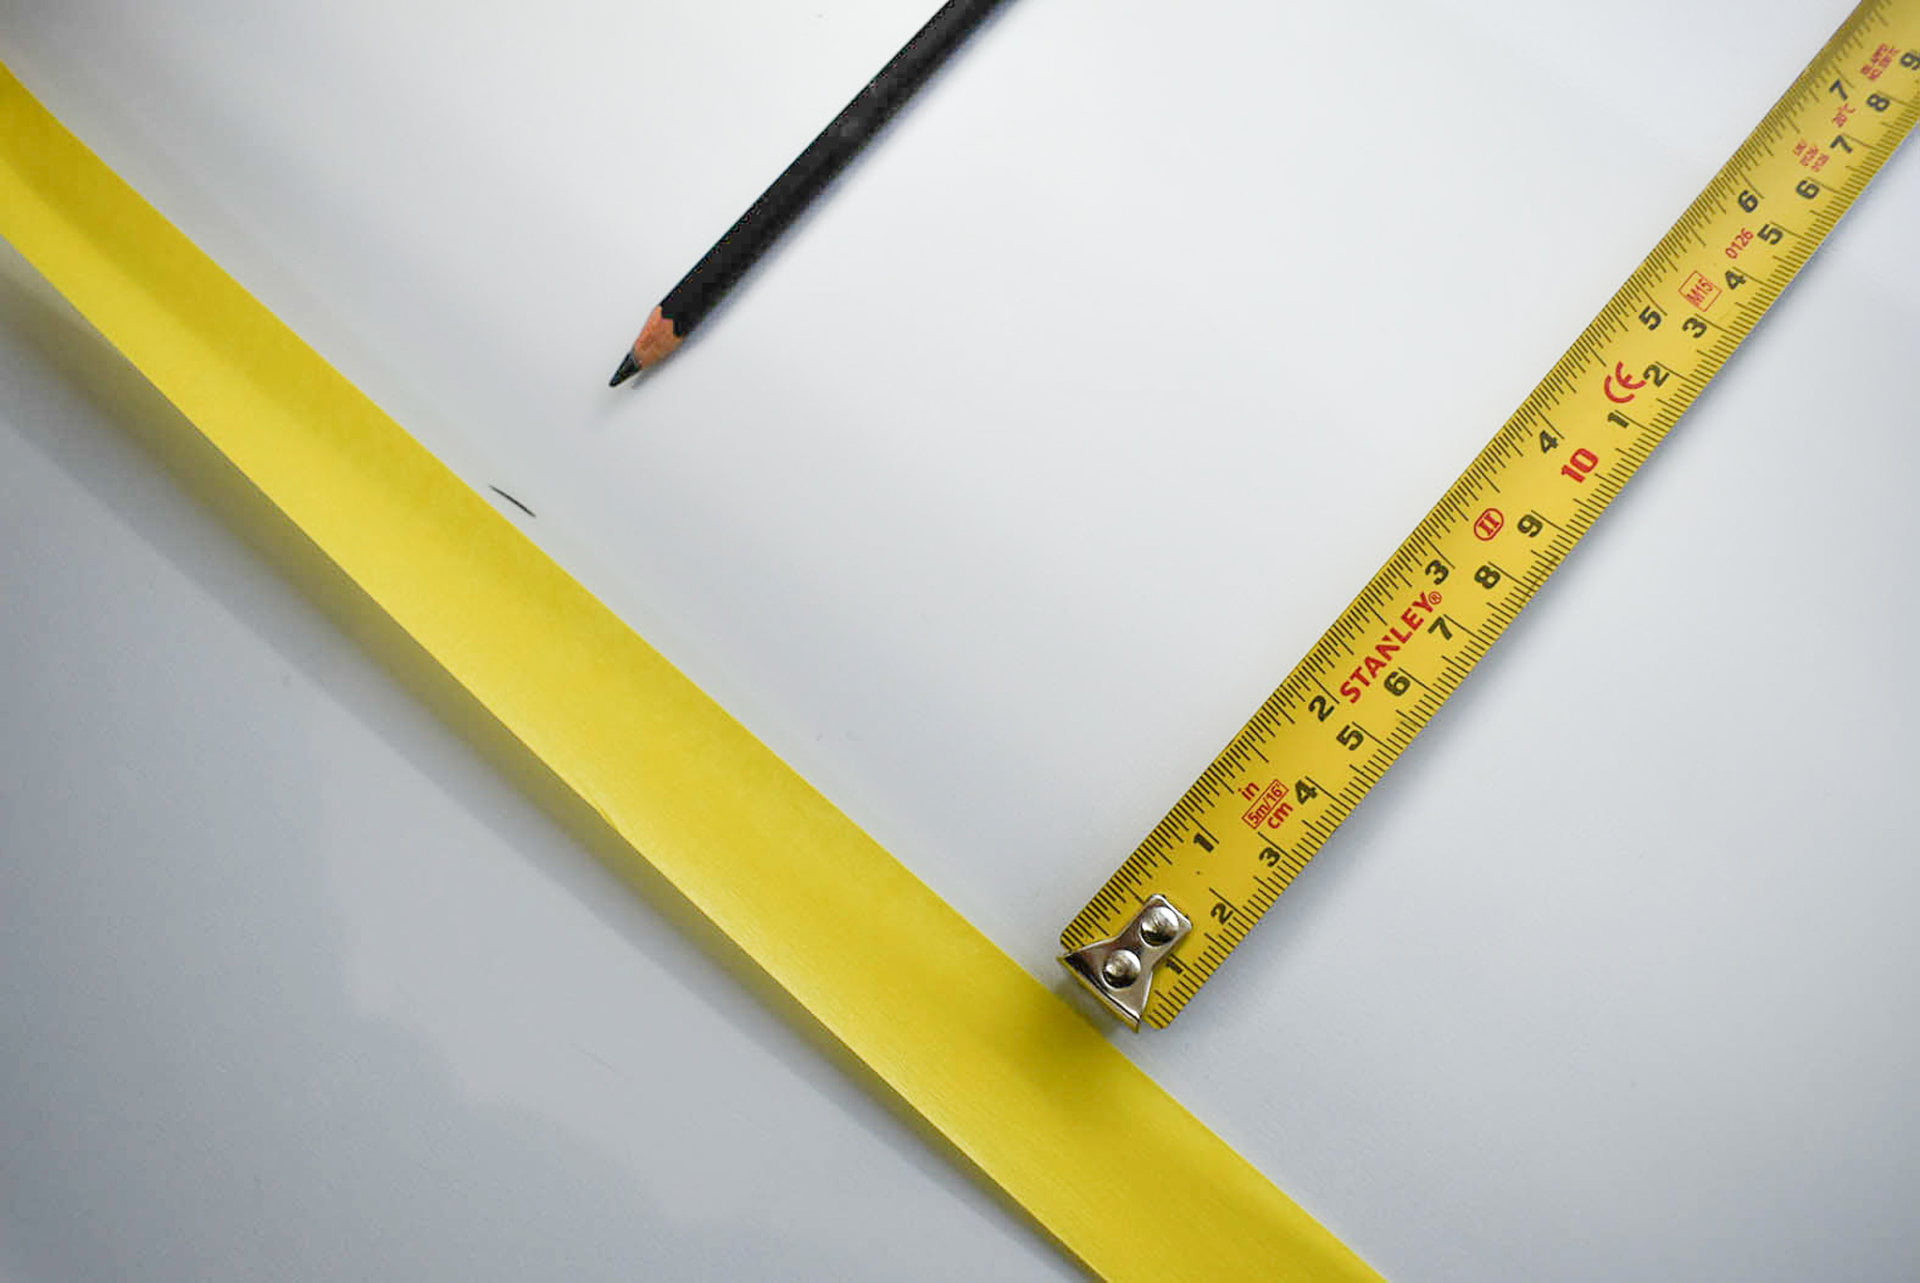
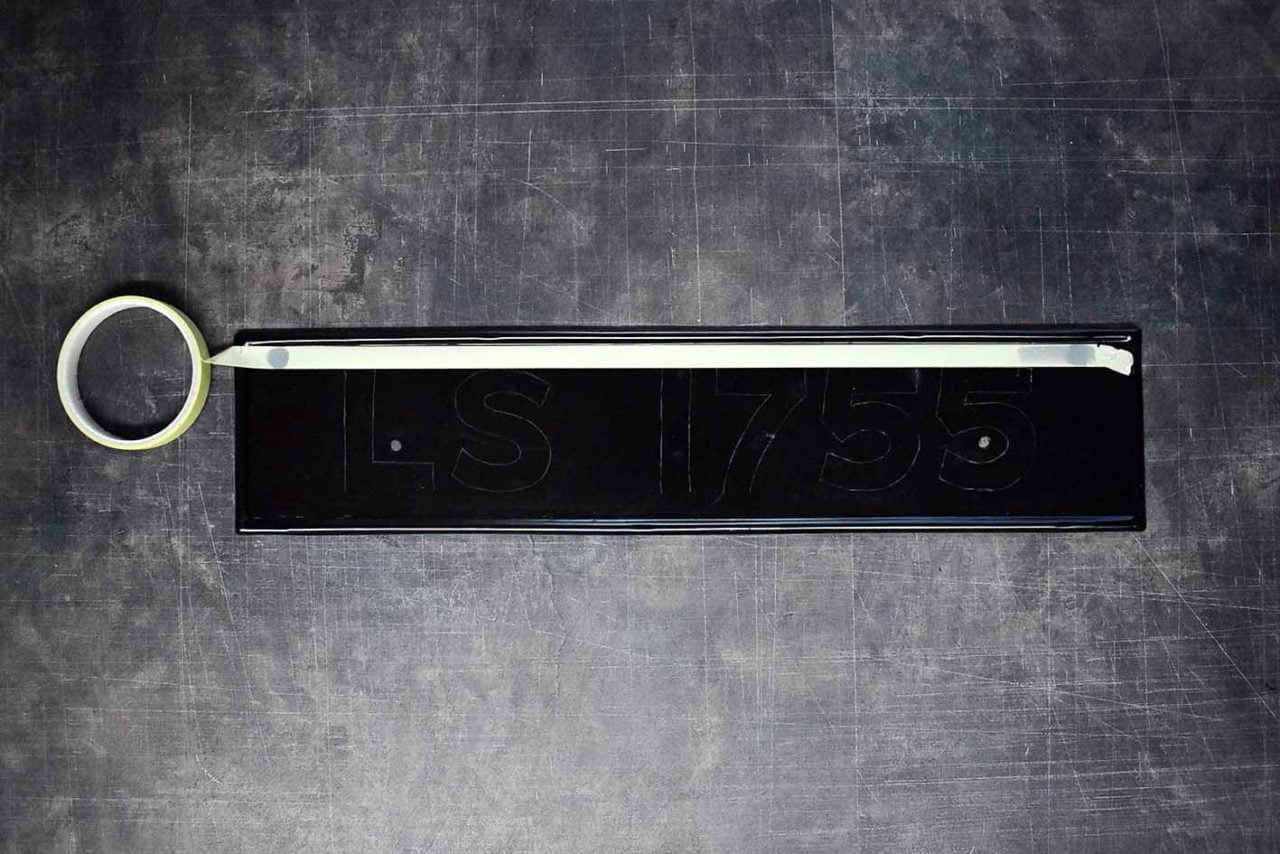
Measure the surface area where you want to paint straight edges. Using a chinagraph pencil or Stabilo, gently mark the surface beside your measurement. Don’t press hard or more than once.
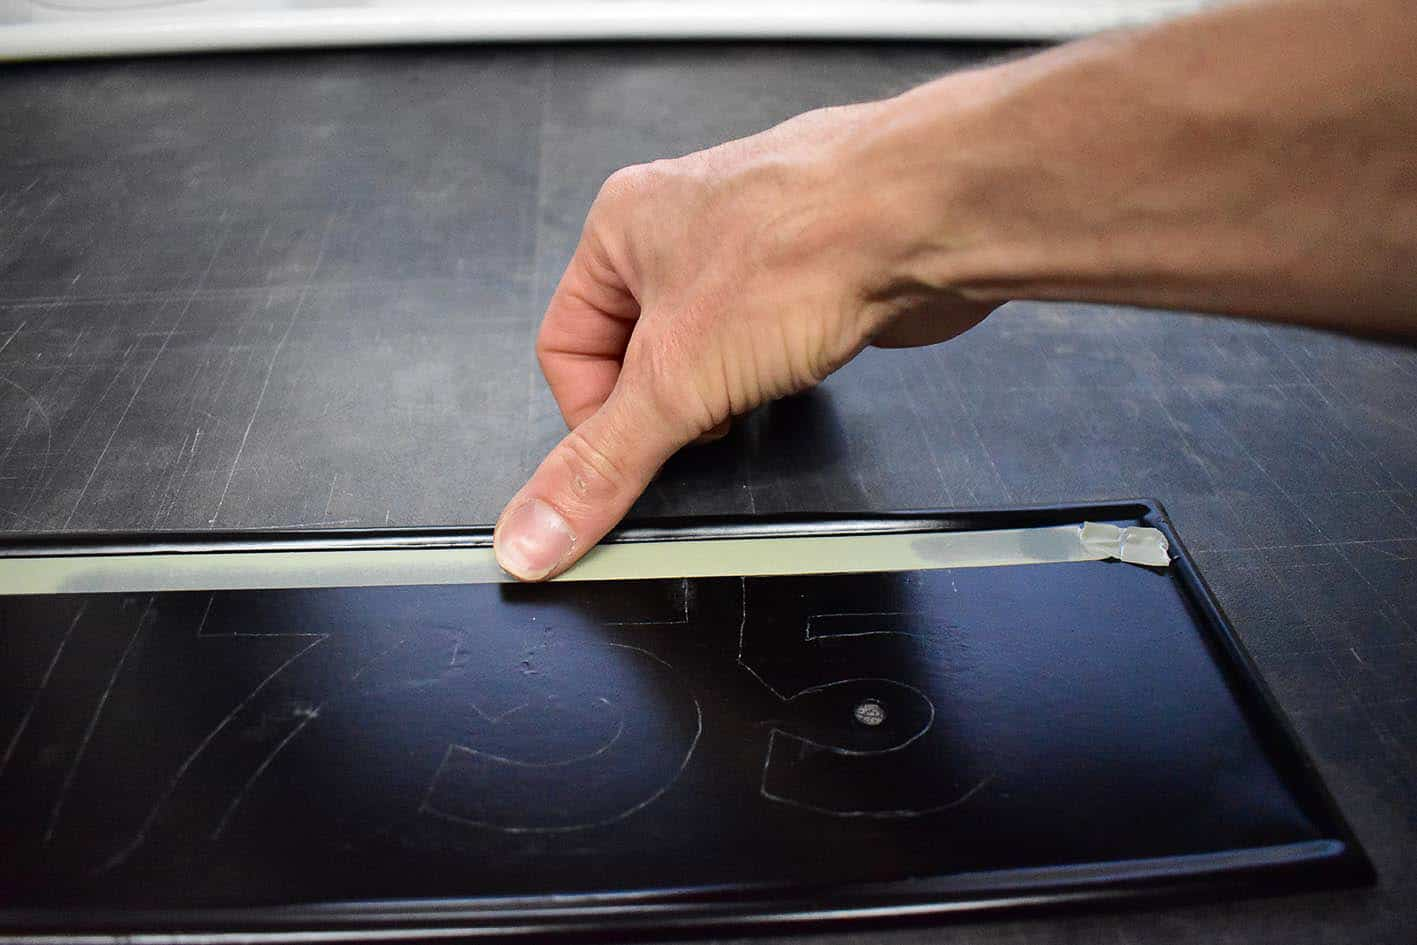
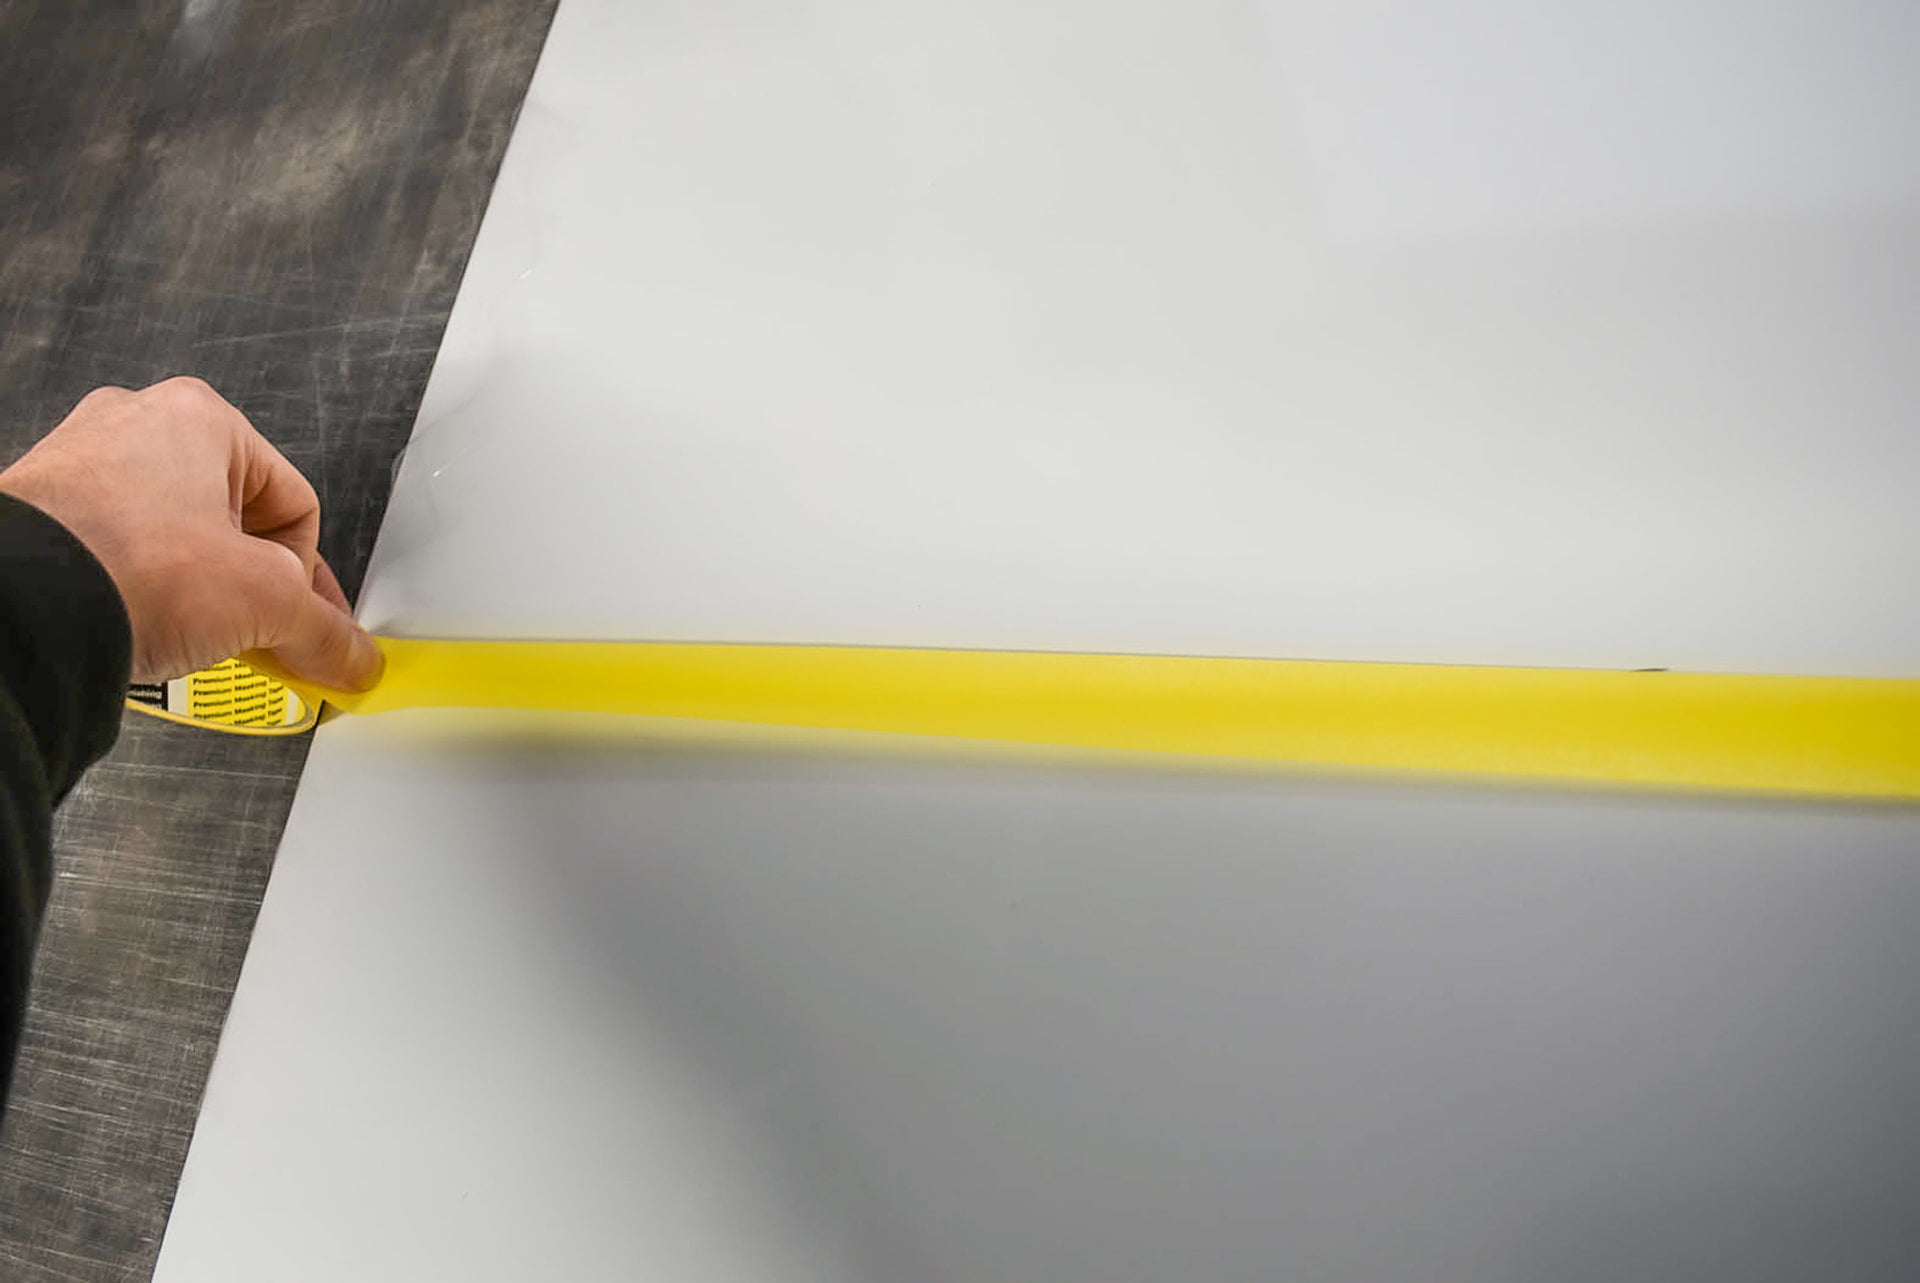
Providing you have marks for the tape’s edge or know the approximate position, peel a forearm’s length from the roll. Place the tape into position and rub firmly. This portion is the anchor.
Depending on the length of your overall taped line, start by pulling the masking tape off of the roll at approximately one metre length. With practice, you can increase how much you pull off of the roll.
Pull the masking tape until you feel it beginning to tighten. Don’t overstretch the tape as it’ll warp and curl inwards on its adhesive side. Pull too tightly or too quickly and it’ll snap or completely pull off of the surface.
Slowly lower the tape onto your mark. You’ll see my black positioning mark above the tape on the right side. Hover the tape over your mark and look across your pulled tape, ensuring the line is straight.
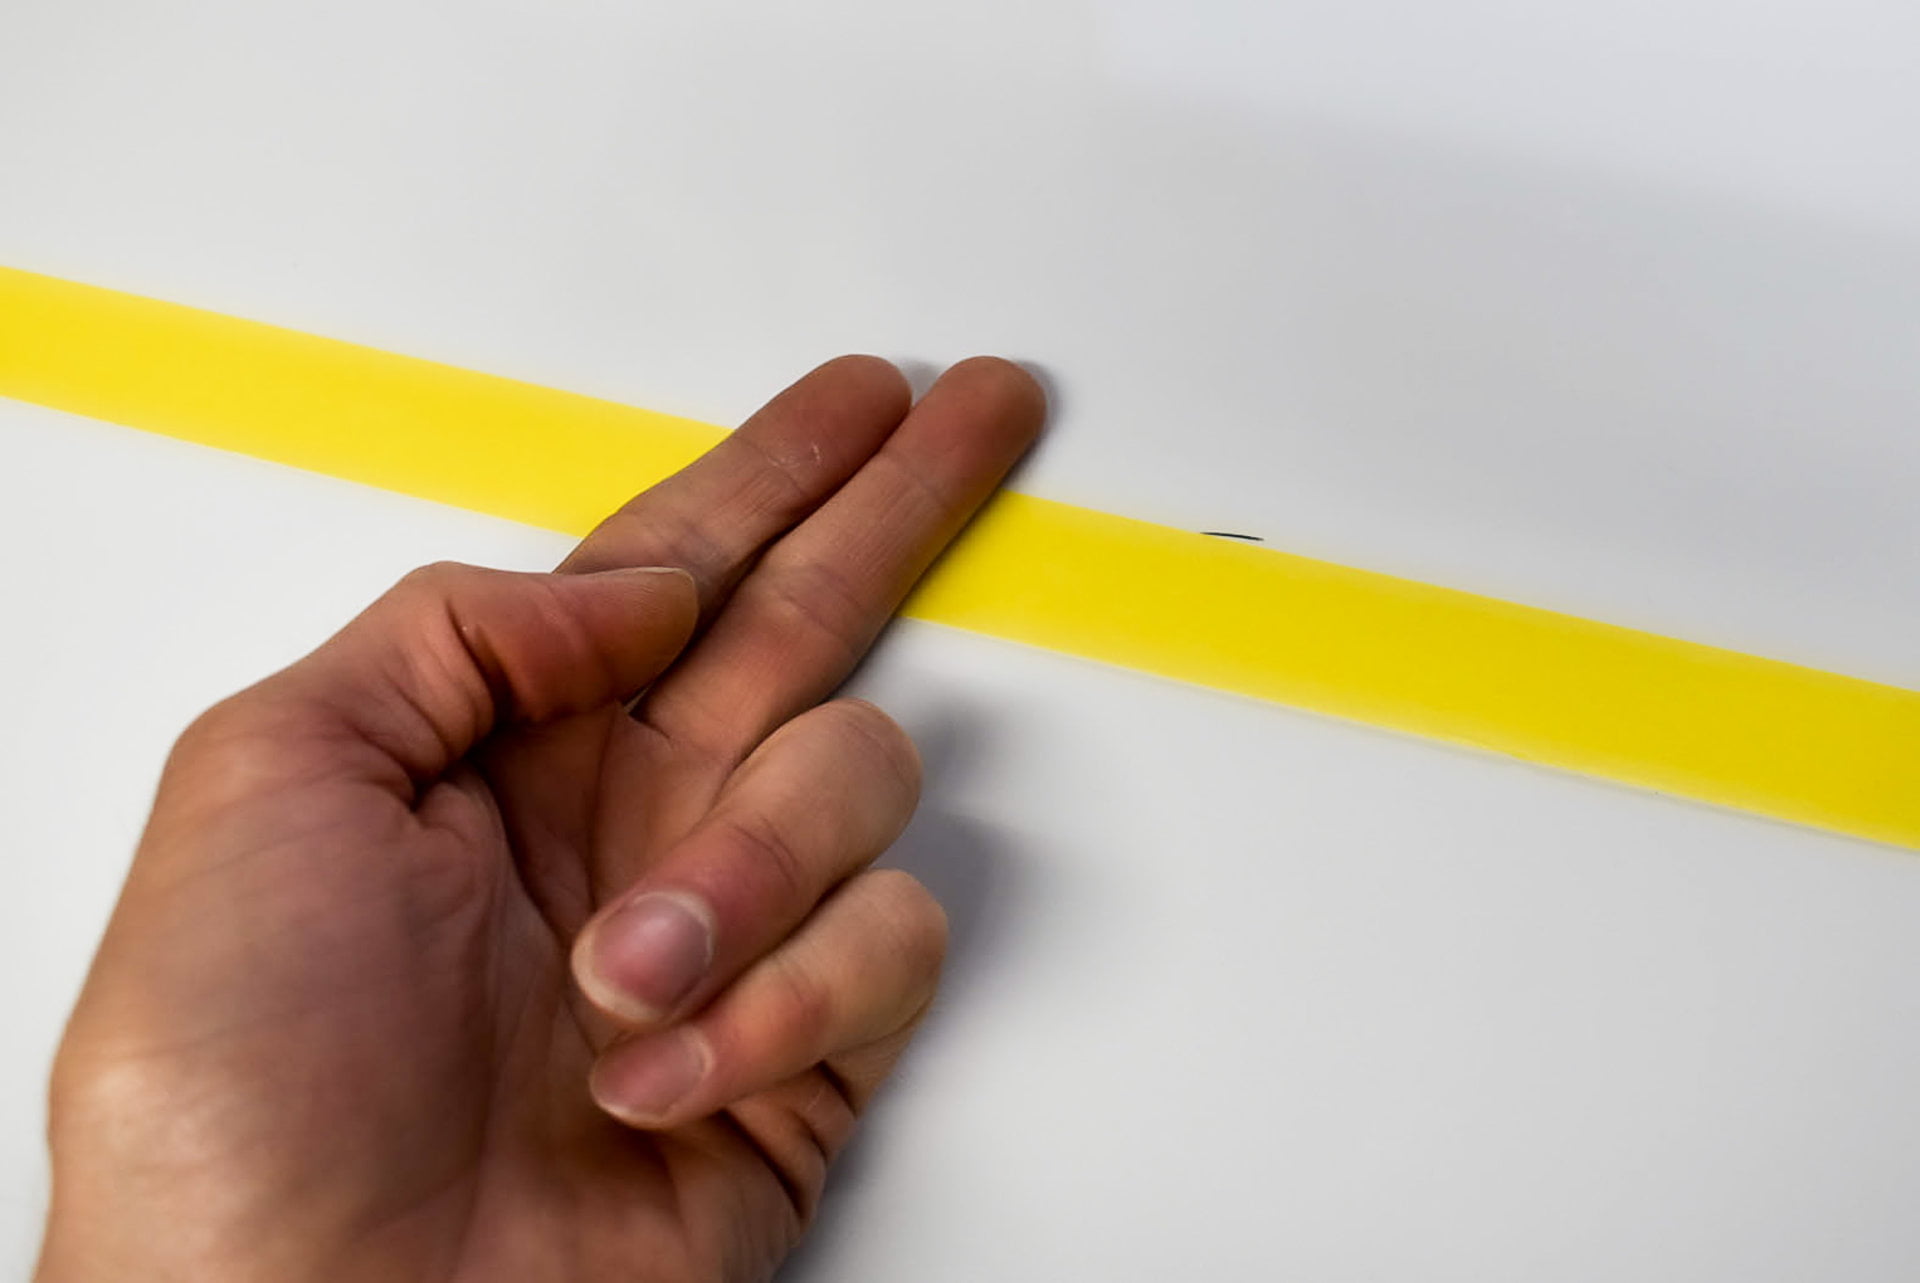
Once the first portion is on your marks, pass over it lightly with the back of your fingers.
Applying pressure to masking tape
Check the straightness of the taped line on the surface. If it’s kinked, pull it off and repeat until the taped line is straight. Don’t press too hard at this stage.
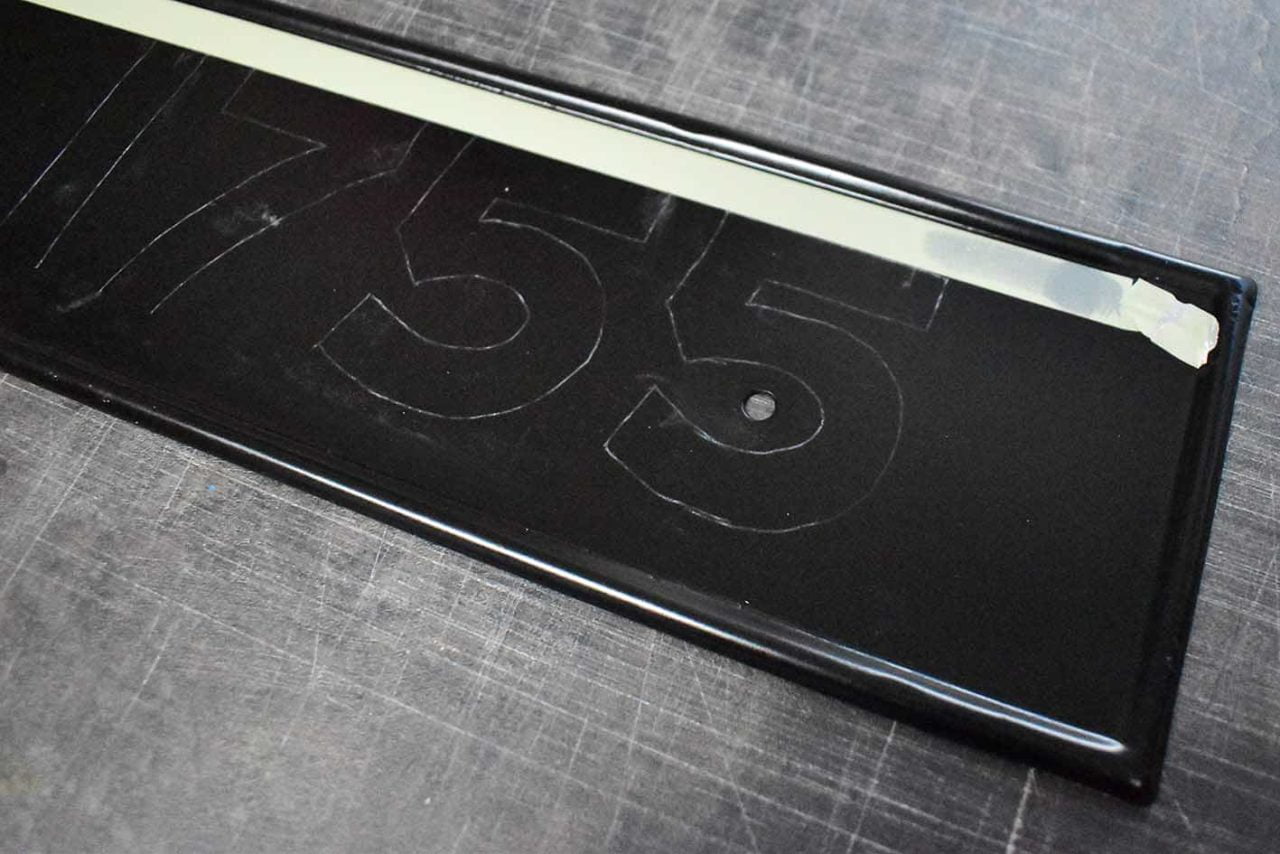
Once you’re satisfied with the taped line, press down firmly. Apply extra pressure with your fingertip or thumb on the edge which the paint will go over. Any crevices underneath the tape (especially on rough surfaces) will allow the paint to seep under.
You’ll notice that the masking tape will become less opaque when pressure is applied.
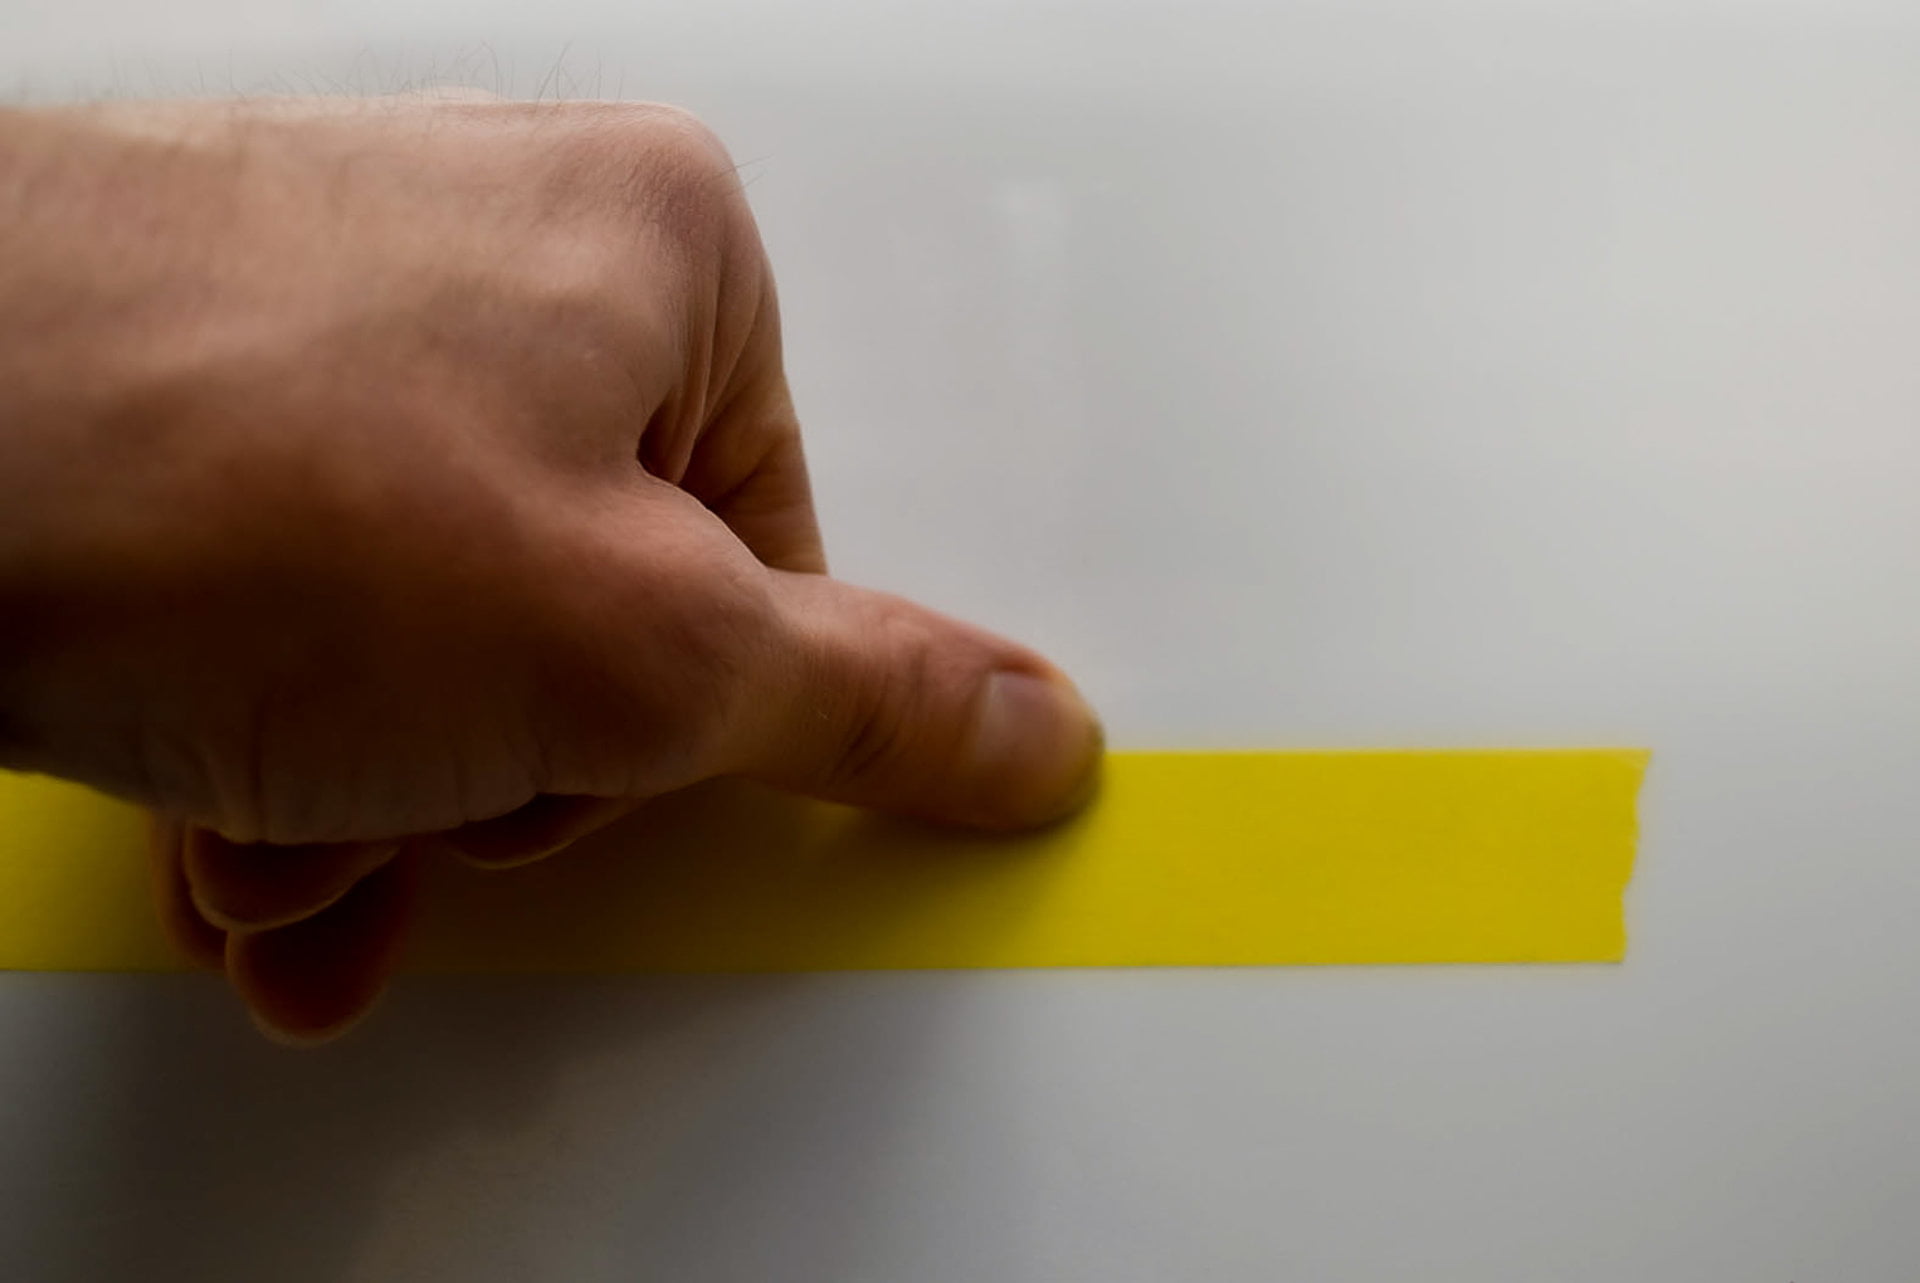
With the first portion in place and your tape attached to the roll, pull again and repeat until you’re at the end of your marks. Check that the entire length is how you want it.
You may have to peel off the initial anchor and pull it straight, to align it with the rest of the tape.
If there are a few kinks over the entire length of your masked line, add portions of masking tape on top to straighten the edge where you’re painting. The portions of tape will straighten the kinks without removing the entire masked length.
If there are loads of kinks, remove the entire tape and start again.
Removing masking tape
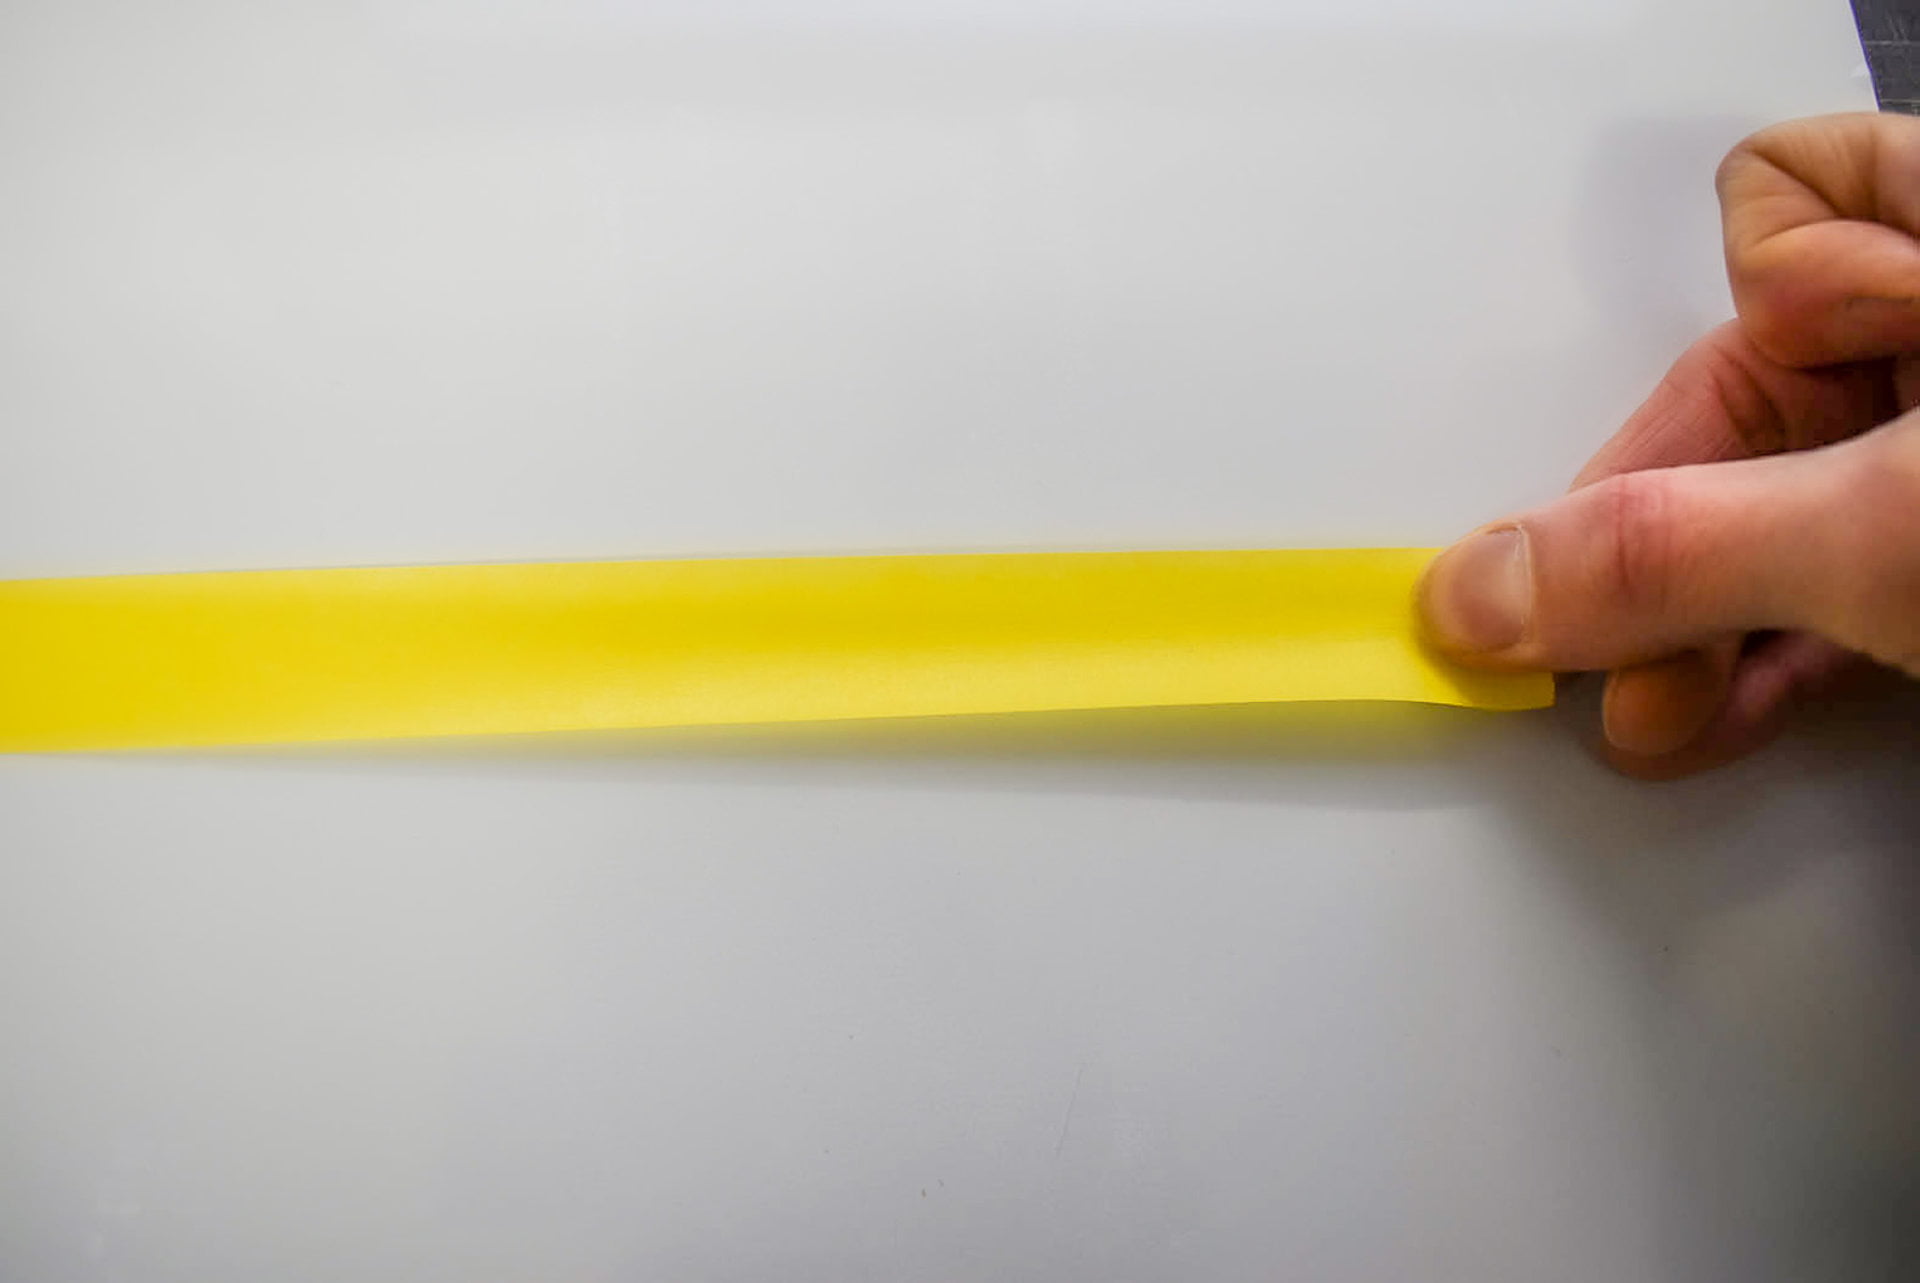
Whenever possible, remove the tape when the paint is wet or semi-dry. Be careful to avoid the painted tape touching the surface. Pull gently and slowly at forty five degrees angle from the surface.
Never leave the masking tape for extended periods in direct sunlight. Never allow the tape to get wet or left in the rain. When the masking tape gets wet, the adhesive residue is often left on the surface and can be problematic to remove.
Fine line tapes for signwriting
Adhesive fine line tape is available in several widths and for different purposes. I’ll explain the three tapes which I use and recommend.
Like masking tape, temperature and humidity will affect the performance of the adhesive. Store and handle fine line tapes with care. Sealed food bags and airtight containers are ideal to minimise particles sticking to the rolls’ edge.
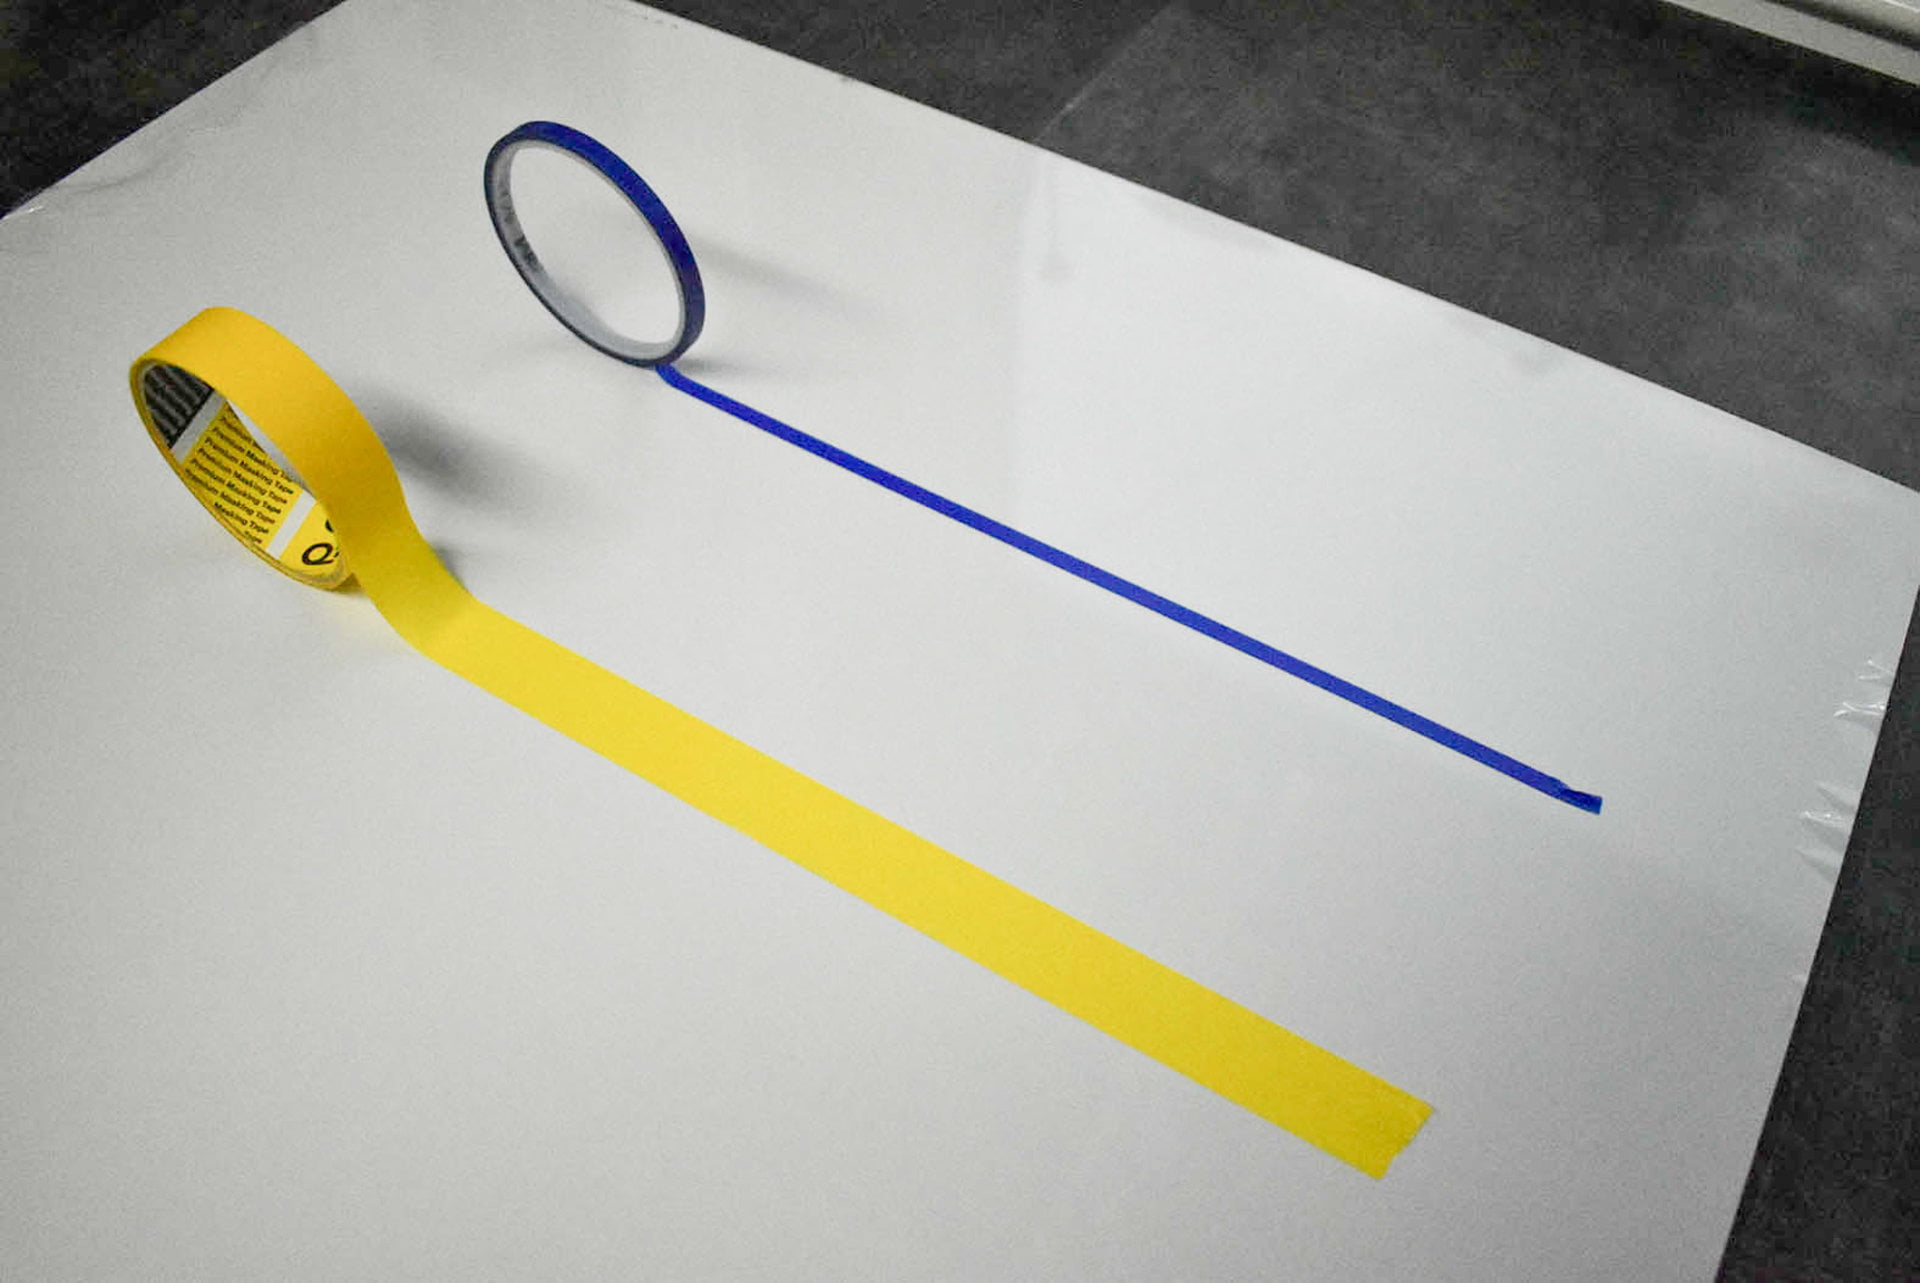
3M beige Scotch tape
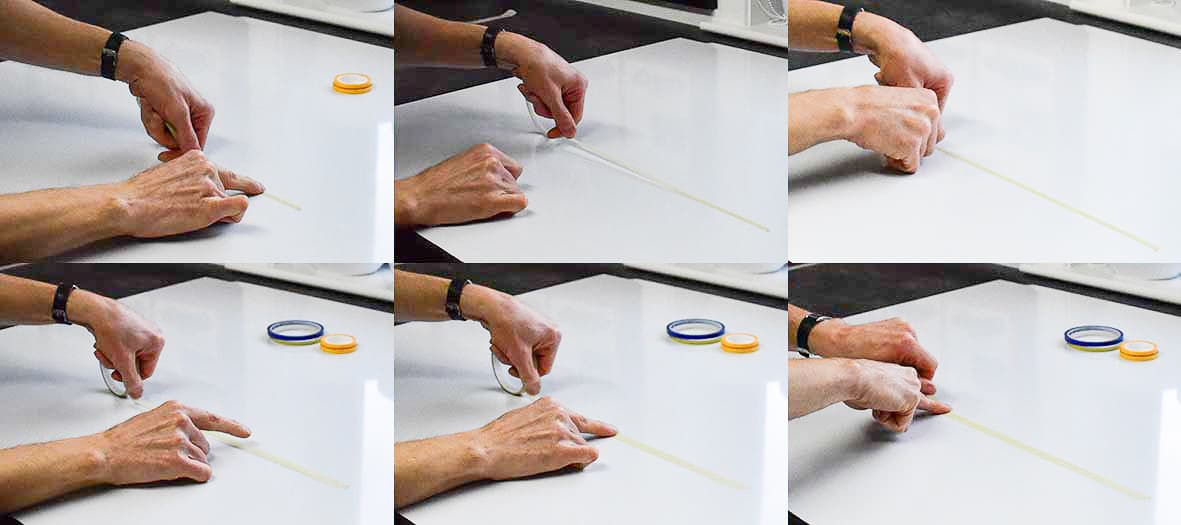
3M’s beige (Scotch) fine line tape is ideal for long, sharp lines. I use this tape, predominantly in 6mm and 10mm widths for quick and easy lining.
Peel about 150mm of tape off of the roll and firmly anchor it onto your surface. Pull the roll of tape tightly away from your anchor. Be careful not to pull too tight or the tape will snap. You’ll feel the tape tighten without stretching it.
Hover it down onto the surface. If you’re satisfied with the position of the tape, press it down gently using the back of your fingers. There’s less friction touching with the back of your fingers and less risk of fingerprint marks.
Go over the taped line again, ensuring the tape is pressed down firmly. You’ll notice the difference in the tape’s opacity when it’s adhered properly.
Beneficially, the 3M beige tape is easy to lift before firmly pressing down. If you lift the tape and notice any kinks before re-using, discard that segment and start again.
3M blue fine line tape
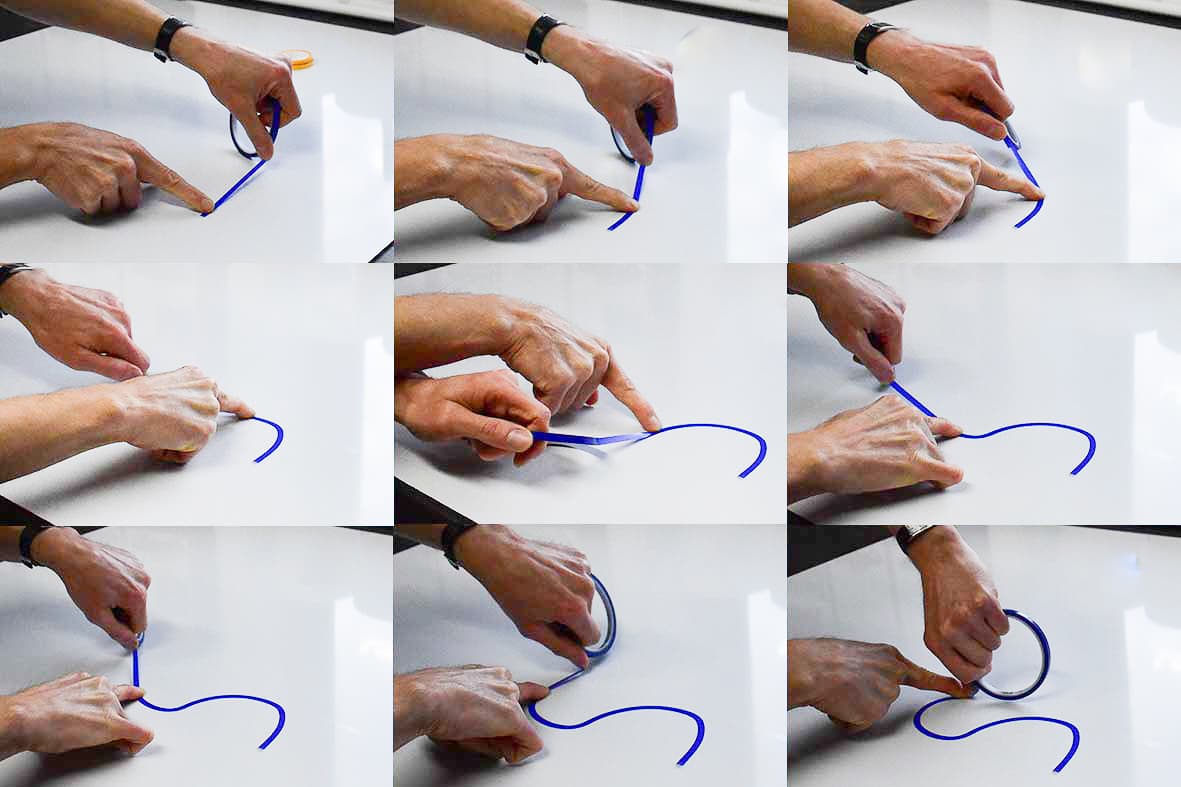
3M’s blue fine line tape is more pliable than the beige tape. I use this tape for acute curves, circles, and ovals. The tape is designed to shape into snake-like paths and is easy to manoeuvre.
It’s also easy to overstretch this tape. Take care not to pull too tight as the tape width will warp where it’s been stretched. If the tape is noticeably warped, remove that segment and start again. Or tape over it. Keep over taped layers to a minimum, as the paint will build upon the raised tape’s edge. The paint is at risk of tearing when the tape is removed.
Lining accurately with fine line tape takes practice. I’m right handed, but I find both hands are vital to enable me to push the tape in the direction I want it to go. One hand leads with the roll, gradually peeling more tape off. The other hand glides over the tape, gently pressing down onto the path.
Clean fingers are a good start. You may also find the use of cotton gloves helpful, as the fabric smoothly moves on the tape’s face.
Anchor the fine line tape into position. The anchor doesn’t necessarily have to be on your path. This can be altered after the whole path is taped.
Your leading arm (the one with the roll) will guide the direction of the tape. It should be thinking ahead of your other hand. Try to move both hands at the same speed. Don’t go too fast with either hand, as it’s harder to align the tape onto your path.
Start with peeling off short lengths until you’re confident of your technique. A greater distance between both hands will make guiding the tape onto the path more difficult.
Paper fine line tape
Paper hobby tape is available from crafts stores and is also worthwhile trying. The product I use is easy to apply without stretching. It removes cleanly, leaving sharp edges for your letters and lines.
With a vast array of products, always test your products to ensure you’re satisfied with their performance.
Thanks for reading my guide on how to use tape for signwriting. Get in touch if you have any questions.